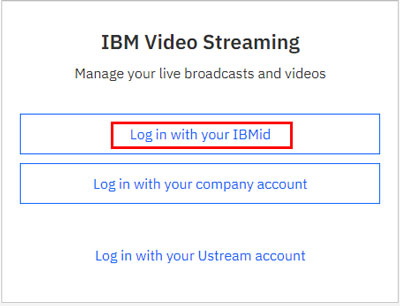
User registration to Ustream (currently IBM Video Streaming) is required. https://video.ibm.com/
Keep the following items handy.
- USB cable supplied with the camera
- A smartphone (capable of tethering) or a Wi-Fi network environment(*) that can be connected to the camera via Wi-Fi
* For the tethering settings of your smartphone or the Wi-Fi network settings of your router, refer to the instructions manual of your smartphone or your Wi-Fi router.For more details about the Wi-Fi network environment, consult each network service provider.
2. Setting Procedure
Maintain internet connection of the PC from the start to finish of the setting procedure.
Procedure 1. Connect a live stream compatible camera with a PC.
For "Handycam," confirm that the camera settings are set to the following.
Turn on the camera, and connect the PC and the camera with the supplied USB cable.
If the USB connection between the PC and the camera cannot be detected, a message that states that the camera could not be detected is displayed on the PC. Try the following.
Disconnect the USB cable and reconnect it.
If there are several USB terminals on the PC, try connecting the USB cable to a different USB terminal.
Confirm that the icon (removable disk) or (removable disk) is displayed on the task tray located on the bottom right corner of the PC screen. Depending on the condition, the icon may not appear.
Do not turn off the camera until network setting is complete.
Be careful not to remove the battery or allow accidental disconnection of the USB cable during the setting procedure.
Click [Next].
If a message that states that a compatible camera has not been connected appears, refer to the following possibilities.
There is connection error between the camera and PC.
The camera power is off.
The camera is not a compatible model.
The system software of HDR-AS100V is not up to date.
Procedure 2. Network Setting
Select the Wi-Fi the camera is to connect to.
Settings here are necessary only for Action Cam.
For Handycam, access points are registered through camera operation. For the registration method, refer to the camera help guide.
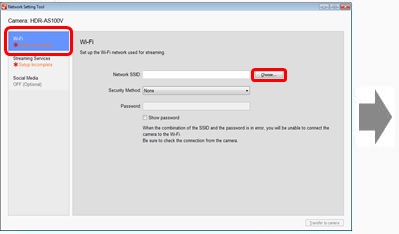
Click [Wi-Fi] on the left side of the "Network Setting Tool" screen.
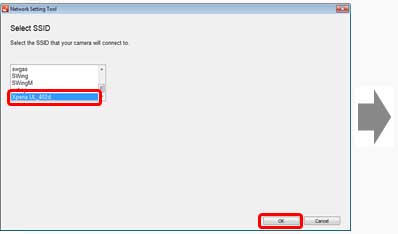
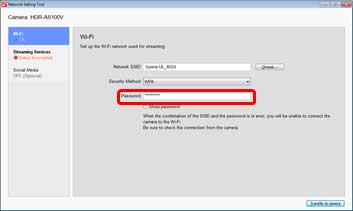
Turn on the Wi-Fi connection setting of the PC and click [Choose] while the device to be connected (smartphone tethering function or Wi-Fi router) to the camera is in operation. Select the SSID to connect to from the list of network SSIDs recognized by the PC, click [OK] and enter the [Password].
You can also directly enter the [Network name], [Security Method], and [Password].
For the tethering settings of your smartphone or the Wi-Fi network settings of your router, refer to the instructions manual of your smartphone or your Wi-Fi router. For more details about the Wi-Fi network environment, consult each network service provider.
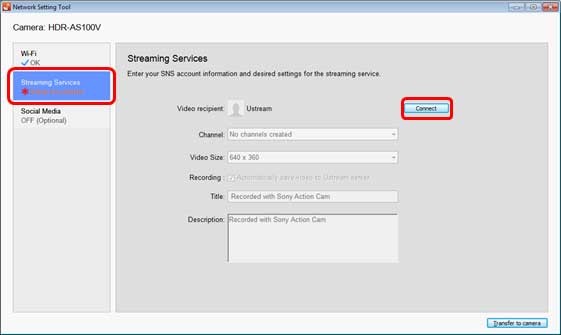
Procedure 3. Streaming Services
Enter your account and perform settings related to the streaming service.
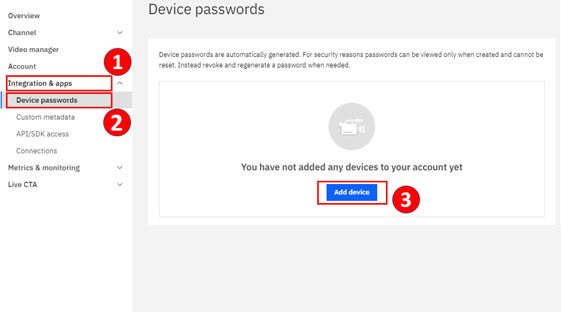
When the “Dashboard overview” screen is displayed, select [Integration & apps] → [Device passwords] → [Add device].
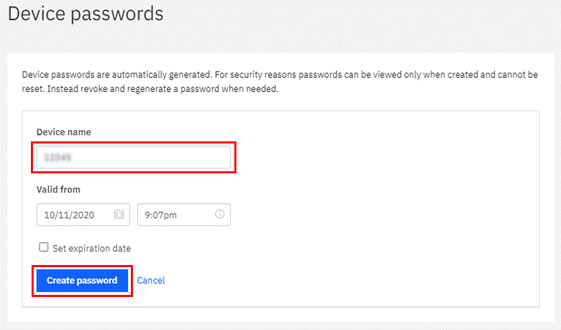
Enter a device name of your choice, and select [Create password].
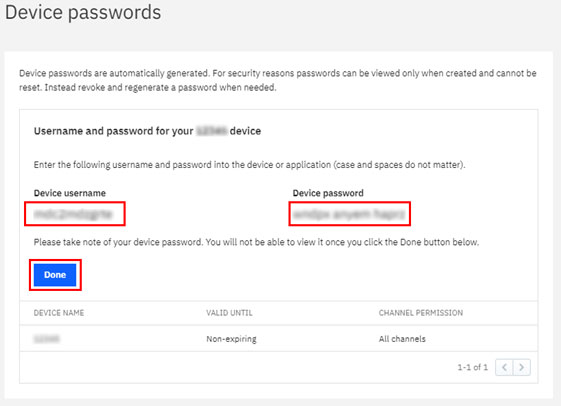
The device username and device password are displayed. The device username and device password will be used to connect to USTREAM (currently IBM Video Streaming), so make a note of them. After this, select [Done].
Click [Streaming Services] on the left side of the "Network Setting Tool" screen and click [Connect] to set the account information of the video streaming service Ustream (currently IBM Video Streaming).
The [Connect] screen is displayed on a separate screen. Enter the device username and device password set in step 4. to log in. Follow the on-screen instructions for the following. ①Enter the device username in [Username or Email]. ②Enter the device password in [Password].
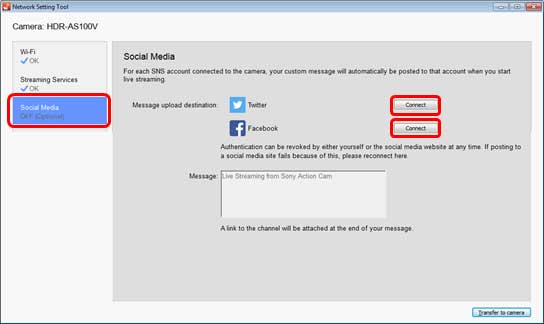
Procedure 4. SNS Settings
The function to automatically post to social networks when you start live streaming is not available anymore due to specification changes in Facebook and Twitter.
If you click Connect, a screen where you can set account information will appear but messages cannot be posted even if you set your account information.
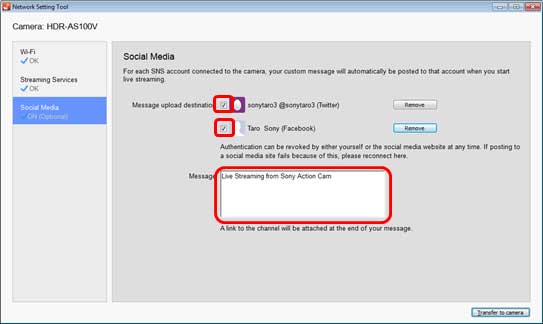
If your camera is set with a Social Media setting where the message post destination is set to Twitter and Facebook, an error message regarding a message post will display on your camera when you start live streaming. In order to prevent this problem, as indicated below, deselect Twitter and Facebook in the Social Media setting, then execute "Transfer to Camera". The Social Media setting on your camera will be disabled.
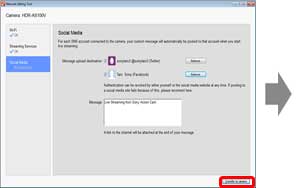
Procedure 5. Transfer Network Settings to Your Camera
Confirm your setting contents and transfer to your camera.
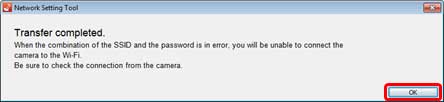
If you click [Transfer to camera] on the bottom right side of the "Network Setting Tool" screen, the screen that has been set will be displayed. Confirm its contents and click [OK].
When the transfer is complete, click [OK] and close the "Network Setting Tool" screen.The setting procedure is complete. Disconnect your camera from the PC. If you are streaming live video for the first time, it is recommended that you perform a trial stream in a stream ready environment beforehand.
With this setting, your personal information (login information for Ustream (currently IBM Video Streaming), Twitter, Facebook accounts) will be set on your camera. If you plan to hand over or dispose your camera, be sure to perform the resetting operation on your camera.
Confirm that the date and time of the camera are set correctly before starting your stream.
 (removable disk) or
  (removable disk) is displayed on the task tray located on the bottom right corner of the PC screen. Depending on the condition, the icon may not appear.
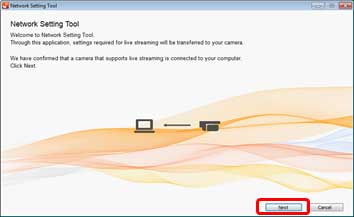


 PAGE TOP