Functions
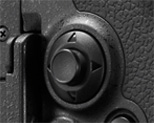
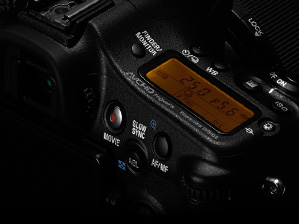
Dials and buttons frequently used for AF shooting
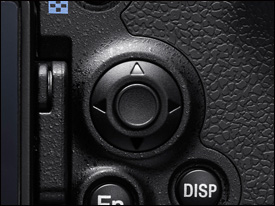
(up/down/left/right buttons, center button)
MENU button Go to listing 6 under (Custom Settings) for setting.
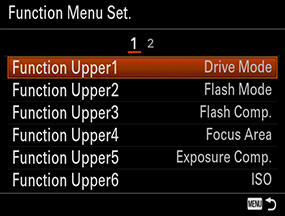
There are 11 customizable buttons on the camera to suit your preferences. You can also customize the Function Menu set (12 functions) accessible via the Fn button according to preferences. Assign frequently used functions and settings to these buttons and menus, so that you can conveniently access them to make quick changes, depending on the subject you’re shooting.
Shooting Mode
Setting steps
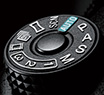
Turn the mode dial to select a desired shooting mode.
| Allows you to shoot still images with the settings adjusted automatically. | |
| Allows you to shoot with the exposure (the shutter speed and the aperture value) adjusted automatically. The other settings can be adjusted manually. | |
| Allows you to adjust the aperture manually to change the focus range or degree of background defocusing. | |
| Allows you to adjust the shutter speed to change expression of the subject’s movement. | |
| Allows you to manually adjust the exposure using the front and/or rear control dial. | |
| Calls up settings registered in advance in Memory in the (Camera Settings). | |
| Allows you to change shooting settings and shoot a movie. | |
| Allows continuous shooting while the shutter button is pressed down fully. The camera records the images continuously at a maximum rate of about 12 images per second. | |
| Allows you to shoot panoramic images by combining multiple images. | |
| Allows you to shoot with preset settings according to the scene. |
Focus Mode
| Locks focus when focus adjustment is achieved. Use Single-shot AF when the subject is stationary. | |
| Switches between Single-shot AF and Continuous AF according to the movement of the subject. When the shutter button is pressed halfway down, the camera locks focus when it determines that the subject is stationary, or continues to focus while the subject is in motion. | |
| Continues to focus while the shutter button is held halfway down. Use this when the subject is in motion. | |
| Allows you to make fine adjustments manually after AF achieves focus. AF-A can be replaced with this function. | |
| Allows focus to be adjusted manually. |
Setting steps
When shooting in AF (AF-S, AF-A or AF-C)*1
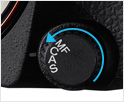
Set the focus mode dial to a desired mode, except MF.
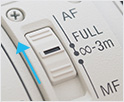
If the lens in use has a focus mode switch, set it to AF.
When shooting in MF
If the lens in use has a focus mode switch, set it to MF.
If the lens in use doesn’t have a focus mode switch, set the focus mode dial to MF.
When shooting in DMF*2
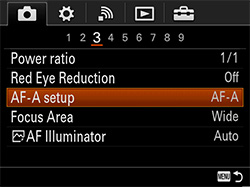
MENU button > Listing 3 under (Camera Settings)
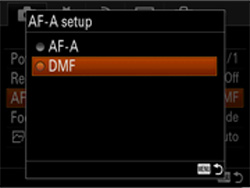
AF-A setup > DMF
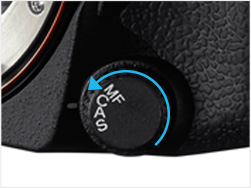
Set the focus mode dial to AF-A.
*1 C: AF-C, A: AF-A, S: AF-S
*2 Some SAM (Smooth Autofocus Motor) lenses do not support DMF (Direct Manual Focus). Refer to the operating instructions for your lens
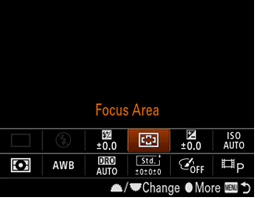
Focus Area
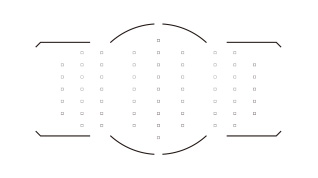
Wide
Focuses automatically on a subject in the area covered by the maximum 79 AF points.
Center
Focuses automatically on a subject in the center of the image.
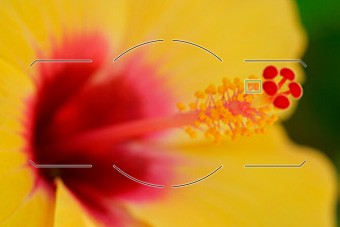
Flexible Spot
Allows you to move the AF range frame anywhere within the area covered by the maximum 79 AF points.
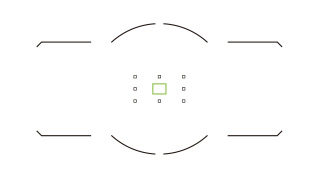
Expanded Flexible Spot
If the camera fails to focus on the single selected AF point, it uses the eight AF points surrounding the selected AF point as the secondary priority points to achieve focus.

Use the multi selector to choose a zone.
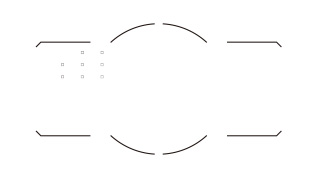
Zone
Select a zone on the monitor on which to focus. You can choose among nine zones.
The camera focuses on a subject in the chosen zone.
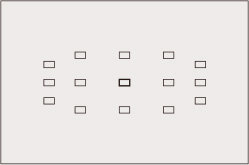
Use fewer points for faster selection
Limiting the number of selectable AF points from 79 to 15 allows you to quickly change your selection of AF point. This capability is available in Flexible Spot and Expanded Flexible Spot and can be set using the following sequence of menus: MENU button Listing 3 under (Custom Settings) > Flexible Spot Points. Even with 15 selectable AF points, in Expanded Flexible Spot, the eight AF points surrounding the selected one assist focusing, thereby maintaining focusing performance.
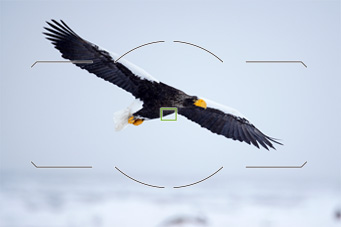
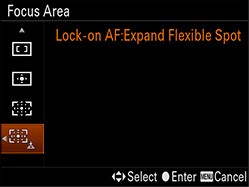
Lock-on AF (Wide, Zone, Center, Flexible Spot, Expanded Flexible Spot)
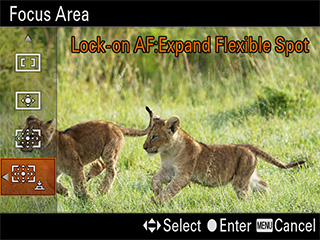 Lock-on AF is a function whereby the camera starts tracking the subject within the selected focus area when the shutter button is pressed and held halfway down. Lock-on AF can also be chosen via Focus Area selection. Choosing a focus area for Lock-on AF lets you start tracking the subject from the area of your choice.
 Setting steps
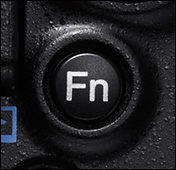
Press the Fn button.
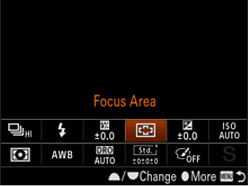
Choose Focus Area.
Choose a desired setting.
Press the MENU button and call up Lock-on AF, then choose On. Listed at the bottom of the choices is the mode that allows Lock-on AF to be activated when the shutter button is pressed halfway down.
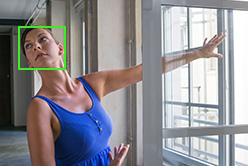
Eye AF
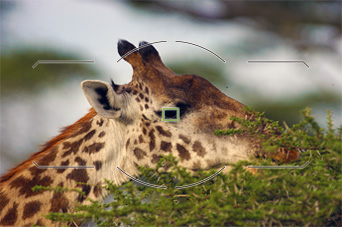
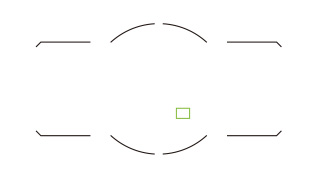
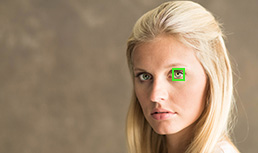 The camera focuses on the subject’s eyes while you keep the button pressed. Even when shooting a three-quarter-view portrait, it can very accurately detect an eye closer to the camera and focuses on it. Once focus is achieved, the area in focus is indicated for a period of time, allowing you to confirm that the focus is where you intend for it to be.
 Setting steps
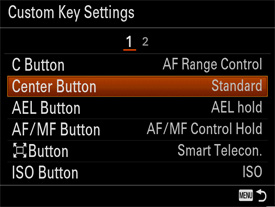
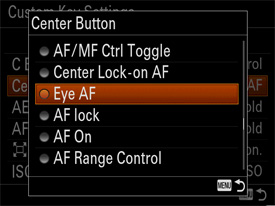
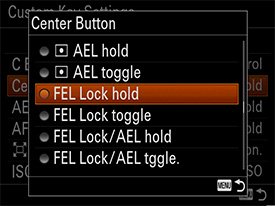
MENU button > Go to listing 6 under (Custom Settings) and choose Custom Key Settings. Assign Eye AF to a desired button (Center button in the example). Pressing the button that Eye AF is assigned to while framing the shot activates Eye AF.
Smile/Face Detect
Setting steps

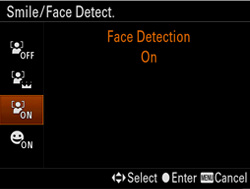
MENU button > Go to listing 7 under (Camera Settings) and choose Smile/Face Detect. Select a desired setting.
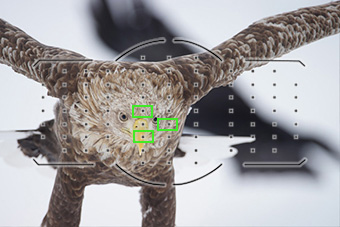
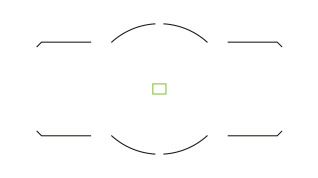
When the camera detects a face (up to eight are detectable at a time), the gray face detection frame appears. When the camera determines that autofocus is enabled, the face detection frame turns white. When the shutter button is pressed halfway down, the frame turns green.
| Face Detection function not in use. | |
| When detecting faces, assigns higher priority to faces registered in Face Registration. | |
| When detecting faces, does not assign higher priority to registered faces. | |
| Automatically detects and shoots a smile. |
Drive Mode
Setting steps
Press the drive mode button and use the front control dial and rear control dial to make your selection.
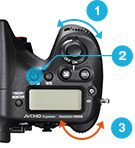
- Front control dial
- Drive mode button
- Rear control dial
| Shoots one still image. Normal shooting mode. | |
| Shoots images continuously while you press and hold down the shutter button. Hi and Lo settings are available. | |
| 10-second timer is convenient when including a shooter in the shot. 2-second timer is convenient to reduce camera shake blur that can occur when the shutter button is pressed. | |
| Shoots a specified number of images continuously after 10 seconds. | |
| Shoots a specified number of images continuously, each with a different degree of exposure, while the shutter button is held down. | |
| Shoots a specified number of images, one by one, each with a different degree of exposure. | |
| Shoots a total of three images, each with different color tones, according to selected settings for white balance, color temperature and color filter. | |
| Shoots a total of three images, each with a different degree of D-Range Optimizer used. |
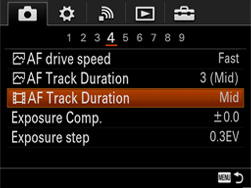
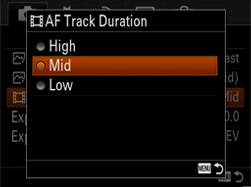
AF Track Duration
Setting steps
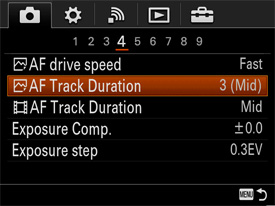
MENU button > Go to listing 4 under (Camera Settings) and choose AF Track Duration. Select a desired setting.
Tracking duration: Low
Stabilizes the position of focus (performs steadfast tracking on the focused subject).
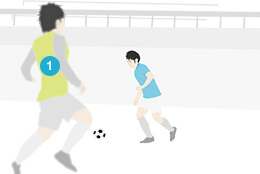
Tracking duration: High
Quickly focuses on a closer subject (easily switches subject in focus).

The camera maintains focus on the intended subject even when an unintended foreground subject blocks the view.
AF drive speed
Setting steps

MENU button > Go to listing 4 under (Camera Settings) and choose AF drive speed. Select a desired setting.
Eye-Start AF
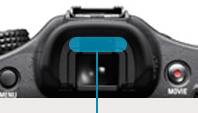
Eye sensor
Setting steps
MENU button > Go to listing 4 under (Custom Settings) and choose Eye-Start AF. Select On or Off.
Center Lock-on AF
Setting steps
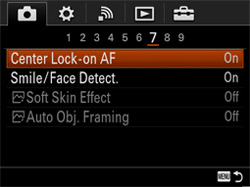

MENU button > Go to listing 7 under (Camera Settings) and choose Center Lock-on AF, then On. Pressing the Center button starts Lock-on AF.
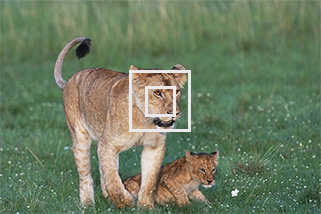
![]() Target frame
Target frame
Center button
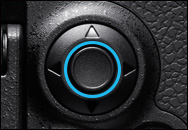
Align the target frame over your subject. Pressing the button located in the center of the multi-selector starts tracking. Pressing the button again stops the tracking.
Balanced Emphasis
Setting steps
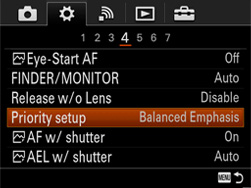
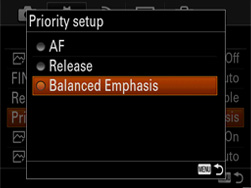
MENU button > Go to listing 4 under (Custom Settings) and choose Priority setup, then Balanced Emphasis.
AF
Pro
Shots that are out of focus are not taken.
Con
Since you can’t take a shot until focus is achieved, you may miss a good photo opportunity.
Release
Pro
You won’t miss good photo opportunities.
Con
You may take many shots, but some may end up being out of focus.
Balanced Emphasis
You can strike a good balance between not missing a photo opportunity and achieving accurate focus.
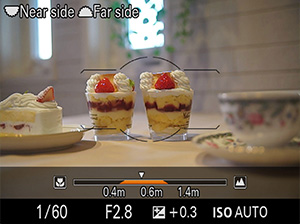
AF Range Control
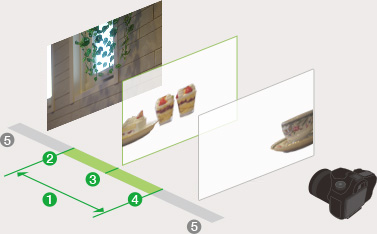
- Autofocus range
- Far
- Center
- Near
- AF not applied
Setting steps
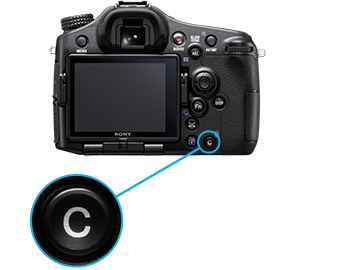
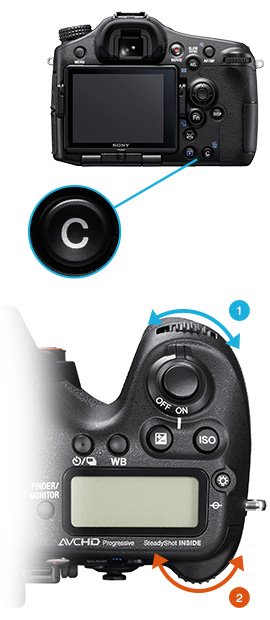
The AF Range Control is assigned to the C (Custom) button in the default settings. Pressing the C (Custom) button displays the AF Range Control setting screen. Use the front control dial and rear control dial to set the autofocus range. Press the C button to fix the setting.
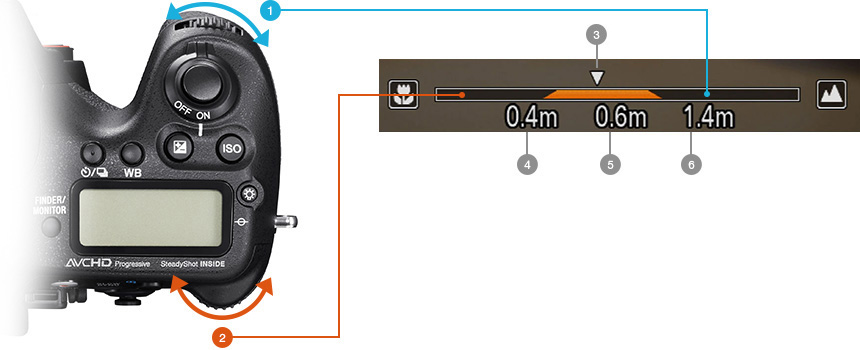
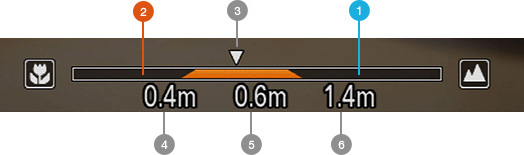
- Use the front control dial to set the maximum shooting distance
- Use the rear control dial to set the minimum shooting distance
- Focusing point
- Near (Settable minimum shooting distance)
- Center
- Far (Settable maximum shooting distance)
AF settings in movie shooting
You can take advantage of the newly developed AF sensor featuring wide AF area coverage and high-density AF point positioning when shooting movies. Various AF functions support your movie shooting: autofocusing by Face Detection function, wide Focus Area selections to allow focusing exactly where you want, AF Track Duration settings for movies, and control of when to start focusing action using the focus hold button.
Focus Area settings
Setting steps
Press the Fn button and choose Focus Area in the function menu, then choose a desired setting.
Wide
Zone
Center
Flexible Spot
Expanded Flexible Spot
Custom Key Settings
Setting steps
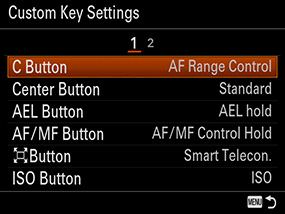
MENU button > Go to listing 6 under (Custom Settings) and choose Custom Key Settings. Make desired settings.
AF Track Duration
Setting steps
MENU button > Go to listing 4 under (Camera Settings) and choose AF Track Duration. Make desired settings.