When updating your product, you will need to run "System Software Update Helper" provided on this web page along with the System Software.
Note
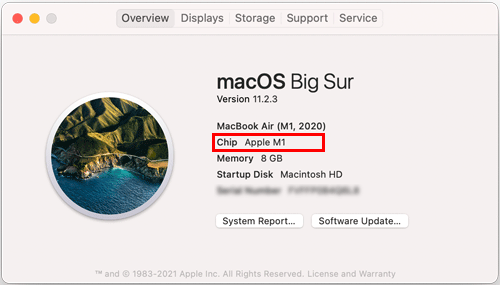
The procedure for changing the security policy on Mac computers with Apple silicon can be viewed here.
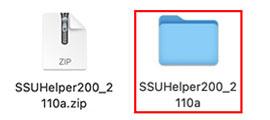
Download "System Software Update Helper" from the link below. We recommend saving the downloaded file to the desktop of your computer.
END USER LICENSE AGREEMENT
FOR US USERS
FOR NON US USERS
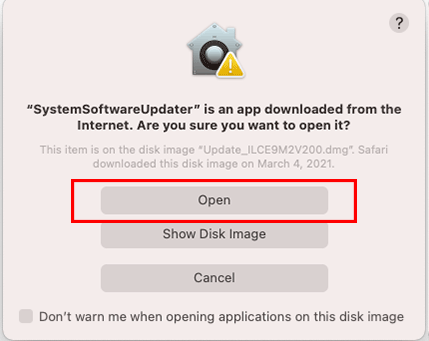
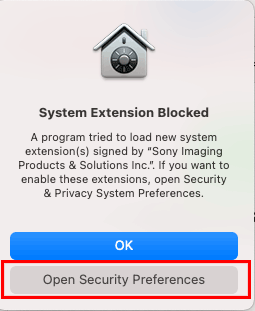
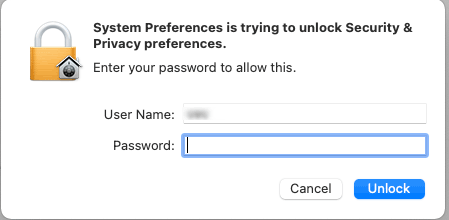
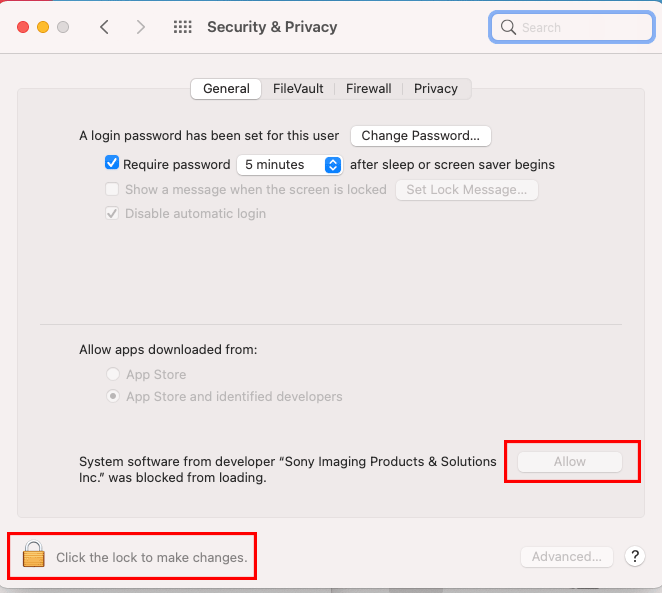
If the System Software Updater does not launch
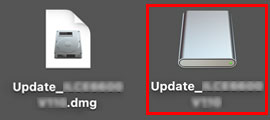
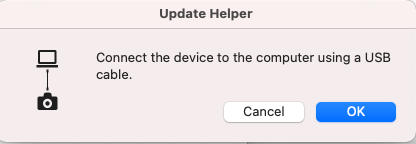
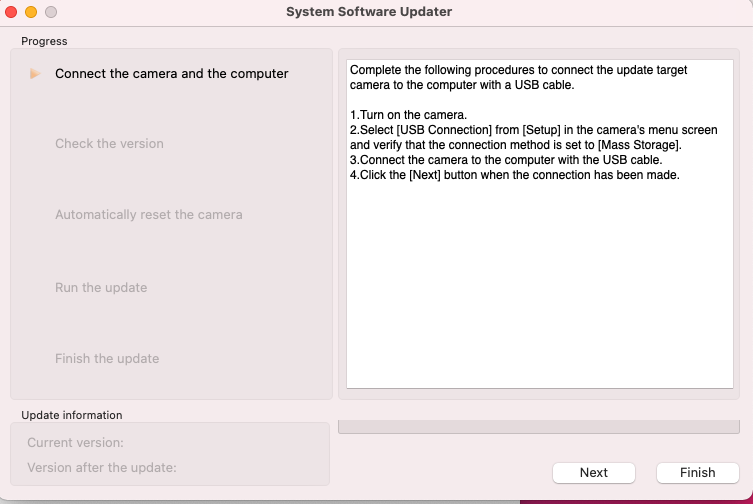
Perform the update by following the messages in the System Software Updater. Please refer to the update procedure described on the previous page as well.
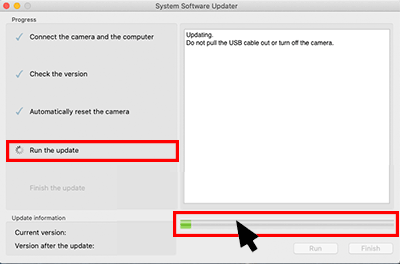
While the update is in progress, a spinning icon appears in the progress status column and a progress bar is displayed* showing the update progress status.
* If the progress bar display does not change, move the mouse pointer over the progress bar and click to display progress status.
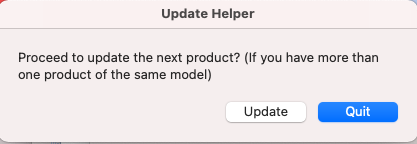
To discontinue updates
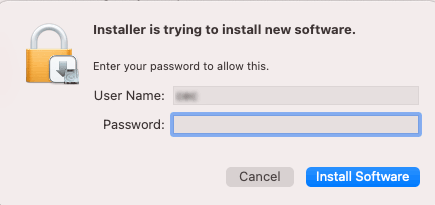
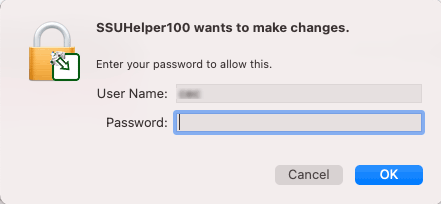
Select [Quit]. The driver is disabled to prevent driver-related problems. When a prompt appears telling you to terminate the USB connection, disconnect the USB cable. When a password entry screen appears, enter the password used to log into the administrator account. This completes the procedure.
To continue with more updates
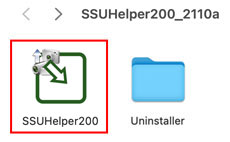
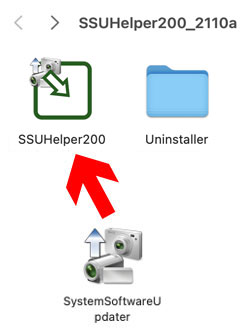
Select [Update] to keep the driver enabled. This allows you to perform additional updates without having to repeat the driver install procedure. If you selected [Update] by accident and the driver remains enabled, use the uninstaller in the previously downloaded “SSUHelper200_2110a” Uninstaller folder to uninstall the driver.


 PAGE TOP