Displays GPS information on movies.

You can create movies with GPS information such as speed, travel time, travel distance, trails, etc. when movies shot using a camera with the GPS function are edited on Action Cam Movie Creator.
Compatible Products
- FDR-X1000V / X3000
- HDR-AS30 / AS100V / AS200V / AS300
- HDR-AZ1VR
STEP1. Set GPS log on and shoot movies.
Turn GPS log on with the following method, then shoot movies.
[Setting Method]
- FDR-X3000, HDR-AS300
- Press the MENU button.
- Press the UP button or DOWN button to select
 (Camera Settings) -
  (GPS log) - setting value, then press the REC/ENTER button.
- FDR-X1000V, HDR-AS200V, HDR-AS100V
Set to [SETUP] - [CONFIG] - [GPS] - [ON].
Set to [SETUP] - [GPS] - [ON].
Connect the camera and remote (RM-LVR2V) via Wi-Fi, press the MENU button on the remote, then set to  (Remote control settings) -
  (GPS setting) - [ON].
The indicator changes according to the strength of GPS signal reception when GPS is activated.

Searching/Difficult : Searching for GPS satellites. (It may take several minutes to start triangulating.)

Triangulating : Your camera is receiving a GPS signal. (Your camera can record location information.)
Tips
When shooting using GPS log, be sure to shoot in open locations such as in an outdoor location.
When shooting in areas where the satellite information is cut or reflected, such as indoors, in the vicinity of tall buildings, steel towers, power cables, etc., positioning may not be possible.
Be sure not to place your fingers on the GPS sensor. Doing so will decrease the reception sensitivity and you may not be able to perform positioning.
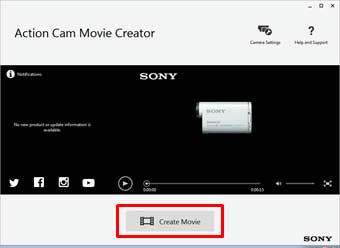
STEP2. Create movies with GPS information in Action Cam Movie Creator.
Run Action Cam Movie Creator and select [Create Movie]. For following operations, see < here > .
 PAGE TOP