
STEP1. Preparation
This section describes the procedures from recording and processing the RAW images to saving them in other image format such as JPEG.
“Image Data Converter” needs to be installed in the computer in advance.
“PlayMemories Home” can be used for importing images to the computer.
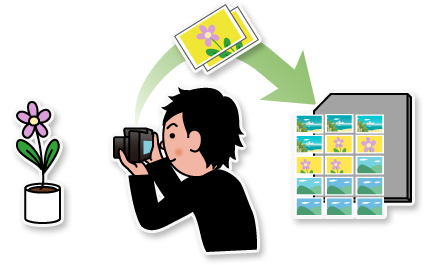
STEP2. Taking pictures
- If you plan to perform RAW processing after taking pictures, you do not have to be particular about an exact adjustment of the camera.
- At this stage, you'd better concentrate more on framing, focusing, and releasing the shutter at the best moment than minute settings.
You can select your favorite shots later, so take as many pictures as possible.
[AUTO] or [P] mode is recommended if you are a beginner. If you want to adjust shutter speed or aperture, use [A], or [S]. Select [RAW] or [RAW & JPEG] for image quality.
STEP3. Importing into the computer
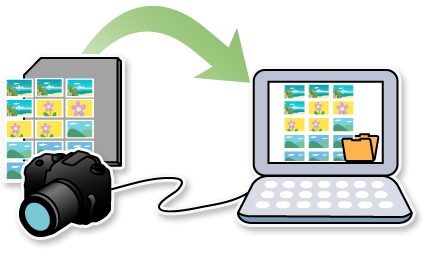
Connect the camera directly to the computer using USB cable. You can also copy images recorded in the card to the computer using devices such as USB card reader.
If “PlayMemories Home” has already been installed, the image-importing software automatically starts.
- PMB (Picture Motion Browser) for Windows can also be used, but we recommend the use of the newer “PlayMemories Home”.
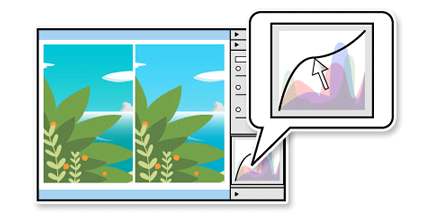
STEP4. Adjustment
- If the brightness and color of your pictures are not as desired, adjust them with Image Data Converter.
- Refer to Operations for detailed operations.
STEP5. Output
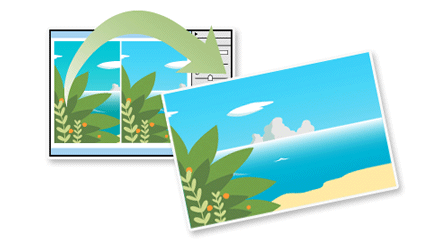
- Output the adjusted RAW data.
- Processed images can be saved as common file format such as JPEG. Then they can be used for various purposes such as e-mail attachments, release on the internet, or prints.
Follow the procedure below for processing RAW data