Focusing on the eyes of an animal or a bird (Shooting movies)
The following procedure is used to focus on the eyes of an animal or bird.
There are three shooting methods. Use the method that is suitable according to the shooting conditions.
- We recommend this when you want to easily focus on a subject by touching it on the monitor to select it.
- When you want to focus on a subject with higher priority on the eye but want to continue focusing using [
 Focus Area] in case detecting an eye is difficult.
- When you want to focus temporarily on an eye within the whole range of the monitor, regardless of the setting for [
 Focus Area]
  To temporarily focus on an eye using [Subject Recognition AF] after focusing on the subject using (Manual Focus)
When you want to focus on an eye by touch operation ([Touch Tracking])
Setting the camera
-
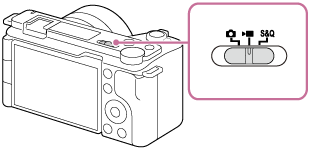
Still/Movie/S&Q switch
Select
 movie shooting mode using the Still/Movie/S&Q switch.
-
[
 Subject Recog in AF]
MENU →
 (Focus) → [Subject Recognition] → [
 Subject Recog in AF] → [On]
 -
[
 Recognition Target]
Select MENU →
 (Focus) → [Subject Recognition] → [
 Recognition Target] → [Animal] or [Bird].
 -
[
 Sbj Recog Frm Disp.]
MENU →
 (Focus) → [Subject Recognition] → [
 Sbj Recog Frm Disp.] → [On]
 -
[Touch Operation]
MENU →
 (Setup) → [Touch Operation] → [Touch Operation] → [On].
 -
[Shooting Screen]
MENU →
 (Setup) → [Touch Operation] → [Shooting Screen] → select menu item and then perform the following settings.
- [Shooting Screen]: [On]
- [Touch Func. in Shooting]: Select [Touch Tracking] or [TouchTracking+AE].
Guide to using the camera
Focusing on an eye by touch operation ([Touch Tracking])
Select an area close to the eye of a subject by touch operation ([Touch Tracking]).
When the eye of the subject is recognized, a white frame appears around the eye and focusing can be continued.
Hint
- If you set [Touch Func. in Shooting] to [TouchTracking+AE], the brightness will be set according to the subject you touched. This will also allow you to fine-tune the brightness by sliding the brightness adjustment bar that appears after touching.
- Select a lower value for [AF Subj. Shift Sensitivity] when subject recognition is frequently interrupted so that the focus remains steady.
Note
- The camera may not recognize an eye depending on a subject or shooting conditions.For details, refer to “About an easy-to-recognize subject.”
Operating the tracking and subject recognition function together
If you configure the [Subject Recognition] setting item to recognize animals or birds as subjects beforehand, the tracking frame switches to the eye recognition frame when an eye is recognized while the tracking function is following a subject, and tracking continues.
Switching the eye to detect
If the subject is an animal, you can switch the recognized eye between right and left by tapping the monitor near the desired eye. For example, if an eye recognition frame appears around the left eye of the subject, you can move the eye recognition frame to the right eye by tapping the monitor near the right eye. If the subject is a bird, you cannot switch the recognized eye between right and left.
When you want to focus on an eye using the focus area
Setting the camera
-
Still/Movie/S&Q switch
Select
 movie shooting mode using the Still/Movie/S&Q switch.
-
[
 Subject Recog in AF]
MENU →
 (Focus) → [Subject Recognition] → [
 Subject Recog in AF] → [On]
 -
[
 Recognition Target]
Select MENU →
 (Focus) → [Subject Recognition] → [
 Recognition Target] → [Animal] or [Bird].
 -
[
 Sbj Recog Frm Disp.]
MENU →
 (Focus) → [Subject Recognition] → [
 Sbj Recog Frm Disp.] → [On]
 -
[
 Focus Mode]
MENU →
 (Focus) → [AF/MF] → [
 Focus Mode] →
  [Continuous AF].
 -
[
 Focus Area]
MENU →
 (Focus) → [Focus Area] → [
 Focus Area] → the desired setting.
Guide to using the camera
Focus on an eye using [ Focus Area]
Since the camera focuses on an eye of an animal or bird in the focus area, if you want to detect a part of the subject such as the eye using the widest possible range, set [ Focus Area] to [Wide] in advance.
If you want to limit the range for detecting an eye, set [ Focus Area] to settings such as [Spot] or [Zone].
Example of condition where the camera can focus on an eye
The following procedure is used under the condition where [ Recognition Target] is set to [Animal].
-
Point the camera so that the animal’s eye to be focused on are within the focus area.
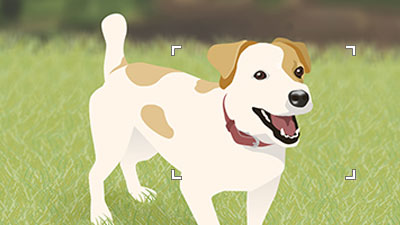
When [
 Focus Area] is set to [Zone]
 -
When focusing on the eyes of an animal is possible, a white eye recognition frame appears around an eye.
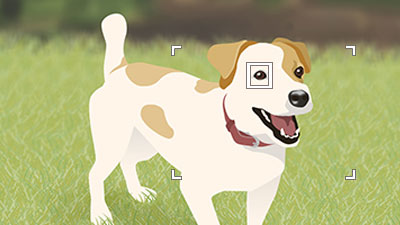
Hint
- To focus on a particular eye when the face of the animal appears small in the image, or when there are multiple animals visible, you can make recognition easier by tapping to select a subject to be tracked, or setting [
 Focus Area] to [Spot] and selecting the subject.
Note
- The camera may not recognize an eye depending on a subject or shooting conditions.For details, refer to “About an easy-to-recognize subject.”
- To focus on a particular eye when the face of the animal appears small in the image, or when there are multiple animals visible, you can make recognition easier by tapping to select a subject to be tracked, or setting [
Switching the eye to detect
* When the subject is a bird, you cannot switch between left and right eyes, on which the camera focuses.
You can set whether to focus on the left or right eye in advance by selecting MENU →  (Focus) → [Subject Recognition] → [
 Right/Left Eye Select]. You can also switch the eye using the following procedure.
Switching with a custom key assigned to [Switch Right/Left Eye]
* [Switch Right/Left Eye] operations are possible when you are not pressing the shutter button halfway down.
When [ Right/Left Eye Select] is set to [Right Eye] or [Left Eye], each time you press the custom key to which [Switch Right/Left Eye] is assigned, you can switch the eye on which the camera will focus.
When [ Right/Left Eye Select] is set to [Auto], you can temporarily switch the eye to be focused by pressing the custom key to which you have assigned the [Switch Right/Left Eye].
Note
When [ Right/Left Eye Select] is set to [Auto], the temporary left/right selection is canceled when you perform the following operations, and the camera returns to automatic eye selection.
- Pressing the center of the control wheel
- Pressing the MENU button
Focusing on an eye using a custom key to which the [Subject Recognition AF] function is assigned
Setting the camera
-
Still/Movie/S&Q switch
Select
 movie shooting mode using the Still/Movie/S&Q switch.
-
[
 Custom Key/Dial Set.]
Select MENU →
 (Setup) → [Operation Customize] → [
 Custom Key/Dial Set.], select a button to which the function is assigned, and then set
  (Focus) → [Subject Recognition] → [Subject Recognition AF].
* You may not be able to select [Subject Recognition AF] depending on the assigned buttons.
-
[
 Recognition Target]
Select MENU →
 (Focus) → [Subject Recognition] → [
 Recognition Target] → [Animal] or [Bird].
 -
[
 Sbj Recog Frm Disp.]
MENU →
 (Focus) → [Subject Recognition] → [
 Sbj Recog Frm Disp.] → [On]
Guide to using the camera
Focusing on an eye by pressing a custom key to which [Subject Recognition AF] is assigned
When you press a custom key to which [Subject Recognition AF] is assigned and the camera recognizes the eye of an animal or bird, a white subject-recognition frame appears. If you zoom in on a subject under the condition where the eye cannot be recognized, the subject-recognition frame may appear around the eye in some cases.
Note
- The camera may not recognize an eye depending on a subject or shooting conditions.For details, refer to “About an easy-to-recognize subject.”
Switching the eye to detect
* When the subject is a bird, you cannot switch between left and right eyes, on which the camera focuses.
You can set whether to focus on the left or right eye in advance by selecting MENU →  (Focus) → [Subject Recognition] → [
 Right/Left Eye Select]. You can also switch the eye using the following procedure.
Switching with a custom key assigned to [Switch Right/Left Eye]
When [ Right/Left Eye Select] is set to [Right Eye] or [Left Eye], each time you press the custom key to which [Switch Right/Left Eye] is assigned, you can switch the eye on which the camera will focus.
When [ Right/Left Eye Select] is set to [Auto], you can temporarily switch the eye to be focused by pressing the custom key to which you have assigned the [Switch Right/Left Eye].
Note
When [ Right/Left Eye Select] is set to [Auto], the temporary left/right selection is canceled when you perform the following operations, and the camera returns to automatic eye selection.
- Pressing the center of the control wheel
- Pressing the MENU button
About an easy-to-recognize subject
Depending on the type of animal or bird, the direction the face is turned, the size of the subject, or the presence of multiple subjects moving around, there may be cases where eye recognition is not possible due to the shooting environment.
Use the following examples as guidelines.
- Example of easy-to-recognize [Animal]
- Example of hard-to-recognize [Animal]
- Example of easy-to-recognize [Bird]
- Example of hard-to-recognize [Bird]
Example of easy-to-recognize [Animal]
Example of subjects with easy-to-recognize eyes

Cat-like face
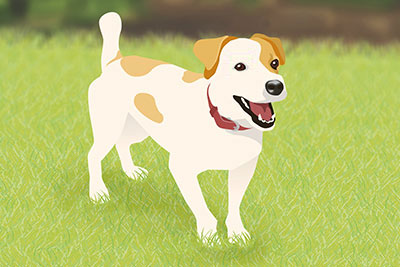
Dog-like face
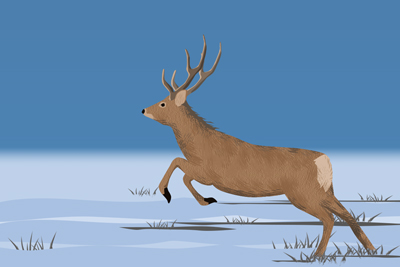
Some herbivorous animals
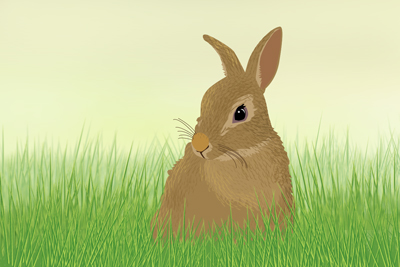
Some small animals
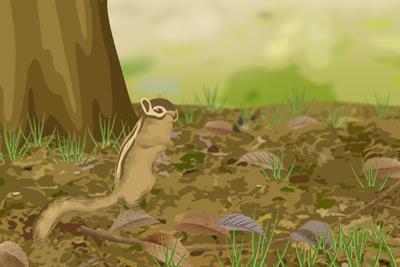
Some small animals
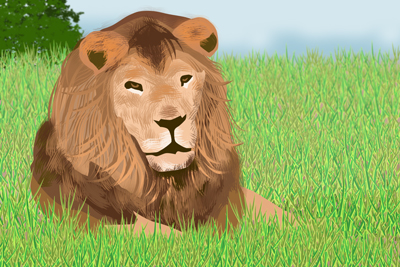
Size and direction of a subject where its entire face such as an eye or nose is seen properly
(Example:Face shown in front view)
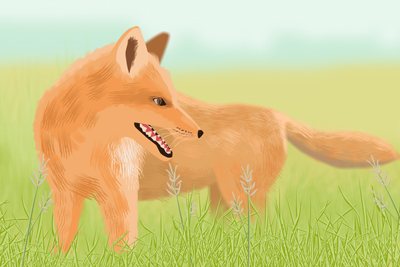
Size and direction of a subject where its entire face such as an eye or nose is seen properly
(Example: Face shown sideways)
Example of hard-to-recognize [Animal]
Example of a subject with a hard-to-recognize eye
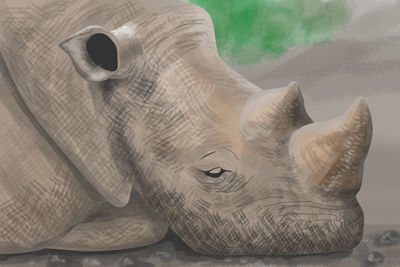
Animals that have faces significantly different from those of “Cats” and “Dogs”
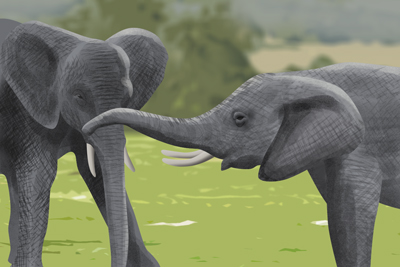
Animals that have faces significantly different from those of “Cats” and “Dogs”
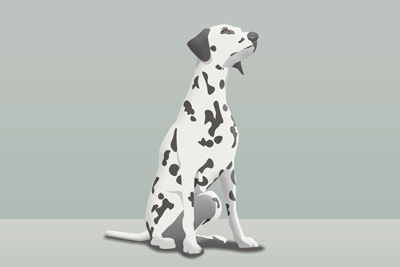
Face or body with markings
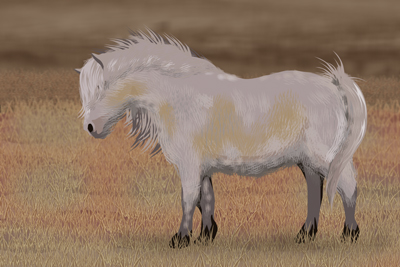
The face of the subject is facing down or backward, or part of the face is hidden.
Example of easy-to-recognize [Bird]
Example of subjects with easy-to-recognize eyes
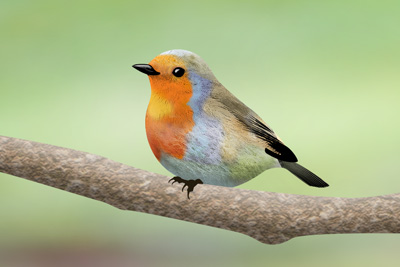
Face like that of small birds
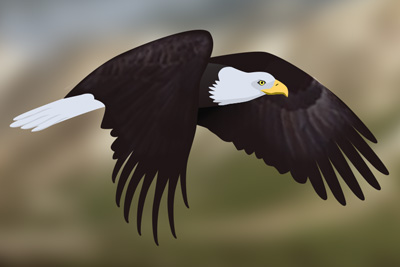
“Raptor-like” face
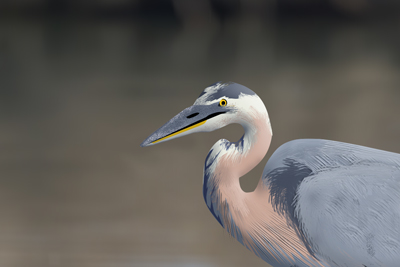
“Water fowl-like” face
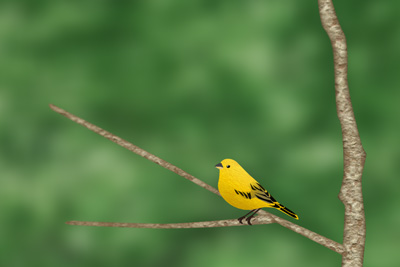
Entire face of the subject is seen properly and it is not too small
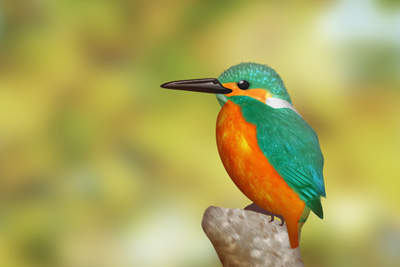
Direction of face where the shape of an eye and beak is seen properly
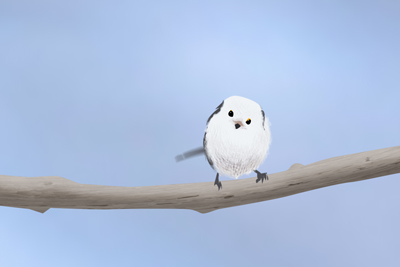
Direction of face where the shape of an eye and beak is seen properly
Example of hard-to-recognize [Bird]
Example of a subject with a hard-to-recognize eye
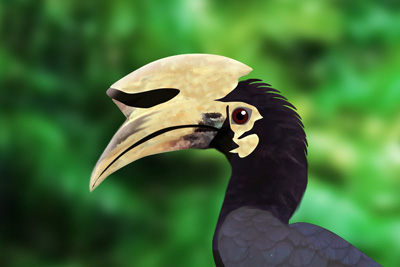
Birds that have faces different from “small birds”, “eagles/hawks”, and “water fowls ”
(Example: Birds with complicated crests and tufted heads)

Cases where an eye or body outline of bird is not sharp
(Example: Patterns of body feathers make it difficult to identify eyes)
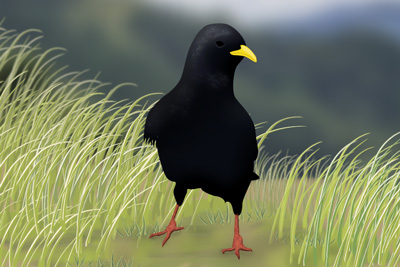
Cases where an eye or body outline of bird is not sharp
(Example: Dark environment, black body feathers)
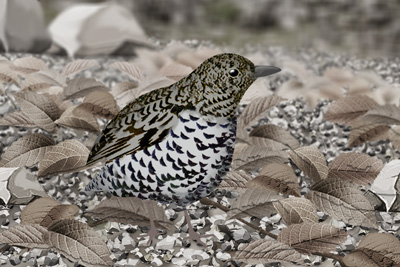
Cases where an eye or body outline of bird is not sharp
(Example: Colors or patterns of body feathers that are similar to the background)

Scene where many birds have flocked together