Saving image-processing settings and applying them to another image or to multiple images at once
You can save settings for image processing in Edit. Saved settings can be applied to other images.
Saving settings for image processing
-
Display an image with settings for image processing in Edit.
-
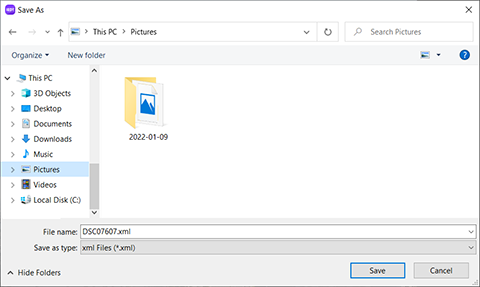
Select [Save image processing settings] from the dropdown list next to (Save) on the toolbar or select [Image Processing Settings] → [Save...] from the [Edit] menu.
The Save File dialog box appears.
-
Select a destination of your choice for saving the image, enter a file name, and click [Save].
Hint
- You can also apply settings for image processing to another image without saving the settings. Display an adjusted image, and then select [Image Processing Settings] – [Copy] from the [Edit] menu. Then, display another image, and select [Image Processing Settings] – [Paste] from the [Edit] menu. The settings of the copied image will be applied to the pasted image.
Applying image-processing settings to another image or to multiple images at once
Applying image-processing settings to another image or to multiple images at once in Viewer
-
In Viewer, select an image or multiple images to which you want to apply the image-processing settings.
-
Click (Output) on the toolbar or select [Output...] or [Export...] from the [File] menu.
-
Select [Apply the selected image processing settings to each RAW file], and click [Browse...] to the right of Settings.
The Select File dialog box appears.
-
Select an image-processing settings file, and click [Open].

-
Click [Continue].
The setting is loaded, and the processing is applied to the image.
Applying image-processing settings to another image or to multiple images at once in Edit
-
Display an image in Edit.
-
Select [Image Processing Settings] → [Load and Apply Settings...] from the [Edit] menu.
The Select File dialog box appears.
-
Select an image-processing settings file, and click [Open].
The setting is loaded, and the processing is applied to the image.