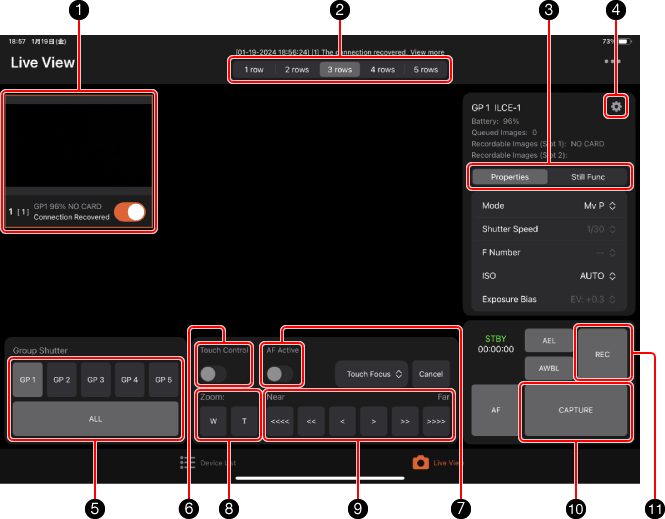
Live View (iPad)
Camera control window / Description of each part
Do not operate the camera body while performing operations in Remote Camera Tool.
-
1 Live View area display setting
Allows you to change the number of cameras displayed in each row of the Live View area.
-
2 Live View area
This frame is displayed when a camera is selected; you can tap it to switch to the camera control window.
When the camera is selected, you can reposition the Live View area by performing the following operations.
-
3 Shooting settings
- [Exposure]: Allows you to configure settings such as shooting mode, shutter speed, F number, and ISO.
- [Other]: Allows you to configure settings such as white balance and drive mode.
-
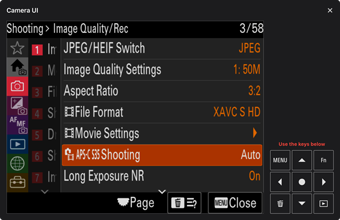
4 Camera UI button
Allows you to display images displayed on the camera’s LCD monitor, check messages, and operate some of the buttons on the camera body.
* Peaking Display on the shooting standby screen and some settings are not displayed.
-
5 Camera settings
Allows you to select the FTP server, format the SD card, etc.
-
6 Group Shutter
You can shoot on all connected cameras by tapping [ALL].
-
7 Touch operation
By tapping on a part of the image, you can operate the camera just like you would operate the touch screen on the camera itself.
-
8 Focus operation
This function is used for DMF (direct manual focus) mode and MF (Manual Focus) mode.
- In order to use Remote Camera Tool to switch the AF mode to DMF or MF, the focus mode switch of the lens must be in the “AF” position.
- When the focus area is set to Flexible Spot, the focus frame moves to the position where you tap on the image.
-
9 Zoom operation
Used for zoom operations. Compatible with power zoom lenses.
-
10 AF active button
Turning on the AF Active button when Touch Control is turned on allows you to operate the AF function by tapping any location in the Live View screen.
-
11 REC Button
We recommend that you put the camera into still image mode during shooting standby to prevent the temperature of the camera from rising.
-
12 Shooting images
Tap [CAPTURE].
“Captured” is displayed above the button on the left, and the Live View frame turns green.
You can check the images you shot by opening the “Files” app and navigating to “On My iPad” → RCT → Pictures.