Focusing on the eyes of an animal or bird (Shooting still images)
The following procedure is used to focus on the eyes of an animal or bird.
If the camera cannot detect the eyes, you can also focus on the head or body.
The following procedure highlights the method to focus on the eye by pressing the shutter button halfway down (or pressing the AF-ON button).
Focusing on an eye by pressing the shutter button halfway down (or pressing the AF-ON button)
Setting the camera
Set the Still/Movie/S&Q dial to  (Still) to select still image shooting mode.
-
[
 Subject Recog in AF]
MENU →
 (Focus) → [Subject Recognition] → [Subject Recog in AF] → [On]
 -
[
Recognition Target]MENU →
(Focus) → [Subject Recognition] → [Recognition Target] → [Animal], [Bird] or [Animal/Bird]. -
[
Sbj Recog Frm Disp.]MENU →
(Focus) → [Subject Recognition] → [Sbj Recog Frm Disp.] → [On] -
[
Focus Mode]MENU →
(Focus) → [AF/MF] → [Focus Mode] →  [Continuous AF]
(To focus on a non-moving subject, you can also use [Single-shot AF] or
  [DMF], etc.)
 -
[
Focus Area]MENU →
(Focus) → [Focus Area] → [Focus Area] → the desired setting.
Guide to using the camera
Setting [Focus Area]
The camera focuses on the eyes of an animal or bird in the focus area.
- If you want to focus on the eyes using the widest possible range, set [Focus Area] to [Wide] in advance.
- If you want to limit the range in which an eye is detected at first and then track the detected eyes using the widest possible range, set [Focus Area] to the parameters such as [Tracking: Spot S], [Tracking: Spot M], [Tracking: Spot L], or [Tracking: Zone] in advance.
- If you want to always limit the range in which an eye is detected and tracked, set [Focus Area] to [Spot: S], [Spot: M], [Spot: L], or [Zone] in advance.
Hint
- Although the camera focuses on an eye with priority, in the case that the camera can no longer detect the eye, you can continue focusing on the subject by setting the focus area or using the tracking function.
Shooting still images
The following procedure is used under the condition where [Recognition Target] is set to [Animal].
-
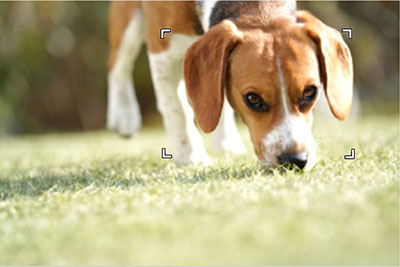
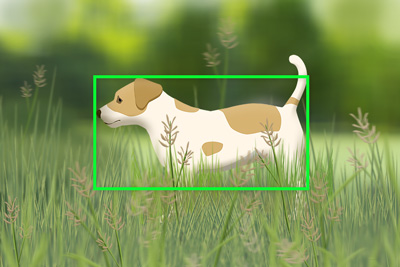
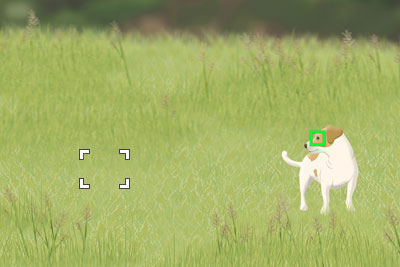
Point the camera so that the animal’s eye to be focused on are within the focus area.
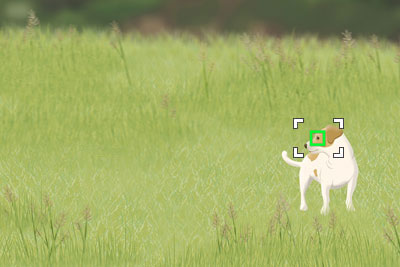
When [
Focus Area] is set to [Tracking: Zone] -
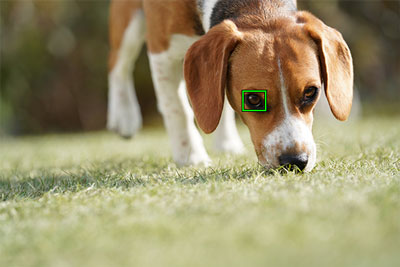
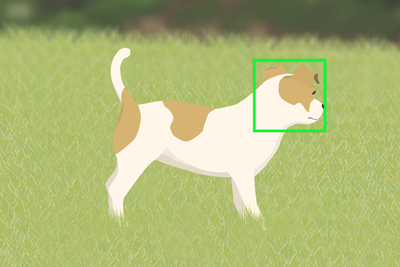
Press the shutter button halfway down to focus on the animal’s eye.*
When the camera recognizes the eye of an animal and focuses on it, a green subject recognition frame appears around the subject's eye, etc.* You can also focus by pressing the custom key to which [AF On] is assigned.
-
Press the shutter button fully down.
Hint
- When you want to switch [Recognition Target] quickly, you may find it convenient if you set [Recog. Target Select] to a custom key or function menu. You can also use [Recog Trgt Select Set] to limit the recognition targets to be switched by using the custom key for only the subjects that are frequently shot.
- To make it easier to focus on a specific subject when the subject displayed on the screen is small, set [Focus Area] to [Spot] and then focus on the subject.
Note
- The camera may not recognize a part of a subject, such as an eye, depending on the subject and the shooting conditions.For details, refer to “About an easy-to-recognize subject.”
- When you want to switch [
Operating the tracking and subject recognition functions together and priorities and limit of the part to be recognized
When [Subject Recog in AF] is set to [On], the focus frame will automatically move to a recognized part of a subject if the part, such as an eye, is detected while the subject is being tracked using the tracking function.
The camera automatically selects the part (in the order of eye, head, and body) to focus on with priority. If the camera cannot focus on the body, it starts tracking.
The following procedure is used under the condition where [Recognition Target] is set to [Animal], and [Recognition Part] is set to [Eye/Head/Body].
-
Tracking distant subjects

-
The body of a subject is recognized when the subject being tracked is getting closer.
-
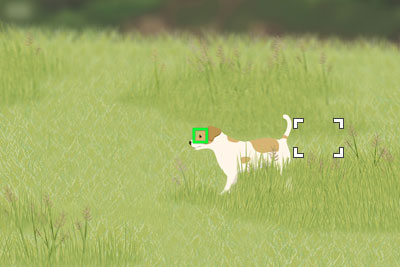
An eye of a subject is recognized when the subject being tracked is getting even more closer.
-
If the camera cannot recognize an eye because the subject is turned away, the camera will recognize the head or body.
To limit the part of a subject to be recognized
- If the camera focuses on an unintended subject that is in front of a target subject in the recognition frame of a body or head, limit [Recognition Part] to [Eye] only and also set [Focus Area] to [Tracking: Spot S], [Tracking: Spot M], or [Tracking: Spot L] and select the target subject in the back to make it easier to focus on that subject.
To recognize the body or head of a subject
When the recognition part is limited to the eyes only
Hint
- When you want to switch [Recognition Part] quickly, set [Recognition Part Select] to a custom key or function menu for easier operation. You can also use [Recog. Part Sel. Settings] to limit the recognition parts to be switched using the custom key.
- You can set [Recognition Part] to [Animal], [Bird], and [Animal/Bird] separately. If you want to set a part to be recognized for an animal and bird separately when [Animal/Bird] is being set, select [Follow Individ. Set.]. When [Follow Individ. Set.] is set, you can use the separate recognition part setting for [Animal] and [Bird].
Note
- The subject-recognition frame may appear on an unintended subject or a different part of a subject instead of the settings of the target subject or subject's part that you have performed using [Recognition Target] or [Recognition Part]. In some cases, the camera is unable to recognize some animals or birds and some parts of a subject.
- If the subject-recognition frame is displayed in an unintended position, you can perform the following setting to adjust the sensitivity of subject recognition.
- If the subject-recognition frame is displayed on an unintended subject when [Recognition Target] is set to [Animal/Bird], set the recognition target setting to [Animal] or [Bird].
- If the subject-recognition frame of a head or body is displayed on an unintended part, set [Recognition Part] to [Eye].
- Set [Recognition Sensitivity] to [1(Low)] or [2].
- If the subject-recognition frame is displayed on an unintended subject when [
- If the camera does not properly recognize an intended subject, perform the following settings for making the recognition process easier.
- If the camera does not properly recognize a subject when [Recognition Target] is set to [Animal] or [Bird], set the recognition target to [Animal/Bird].
- Set [Recognition Sensitivity] to [5(High)] or [4].
- If the camera does not properly recognize a subject when [
Example of convenient use of tracking and subject recognition functions: Shooting a subject by quickly switching the operation between tracking and [Spot]/[Zone]
The following is an example of a procedure that is useful for quickly switching the operation between tracking and [Spot]/[Zone] when shooting an animal or bird.
This setting makes it convenient to quickly switch the operation to [Spot]/[Zone] when suddenly you come across a situation where it is difficult to continue tracking a subject while shooting using the tracking or subject recognition function.
The following procedure is an example of using the focus area parameters [Tracking: Spot S], [Tracking: Spot M], [Tracking: Spot L], or [Tracking: Zone] in a combination of the following three functions.
- Pausing the tracking or subject recognition function [Track Recog Off on Hold]
- Displaying the focus area frame during tracking [Area Disp. dur Tracking]
- Moving the focus area frame to the position of the tracking frame during tracking [Focus Standard]
Advance preparation
Assigning the [Track Recog Off on Hold] function (used for pausing the tracking or subject recognition function) to a custom key
It is recommended to assign functions to a focus hold button, AF-ON button, or AEL button that is operable during shooting. To assign a function to the focus hold button, perform the following setting.
MENU →  (Setup) → [Operation Customize] → [Custom Key/Dial Set.] → [Lens] → [Focus Hold Button] → [Track Recog Off on Hold]
Hint
- When you use [Track Recog Off on Hold], you can temporarily switch off both tracking and subject recognition functions. If you want to switch off the tracking function only and continue to use the subject recognition function, assign [Tracking Off on Hold] to the focus hold button.
- To temporarily switch off both tracking and subject recognition functions: [Track Recog Off on Hold]
- To switch off the tracking function only and continue to use the subject recognition function: [Tracking Off on Hold]
- When you want to focus and release the shutter separately to activate the autofocus function using the AF-ON button only (this method is often referred to as “back-button AF”), it is recommended to assign the function to the focus hold button on the lens. On the other hand, when you operate AF by pressing the shutter button halfway down using your index finger only, it is also recommended to assign the function to the AF-ON button or AEL button, etc.
- For details on [Track Recog Off on Hold], visit the following website.
Set [Area Disp. dur Tracking], which displays the tracking start area while tracking the subject.
MENU → (Focus) → [Focus Area] → [Area Disp. dur Tracking] → [On]
Assigning [Focus Standard] for moving the focusing area frame to the position of the tracking frame during tracking
The [Focus Standard] function is assigned to the center of the multi-selector in the default settings. To change the setting, use the following procedure.
MENU → (Setup) → [Operation Customize] → [Custom Key/Dial Set.] → [Rear2] → [Multi-Slc Center Btn] → [Focus Standard]
How to use this function during shooting: Example of when a subject is temporarily hidden and cannot be seen behind obstructions, etc.
-
The camera starts shooting a subject using [
Focus Area] set to the parameters such as [Tracking: Spot M]. The tracking frame and subject-recognition frame appear. 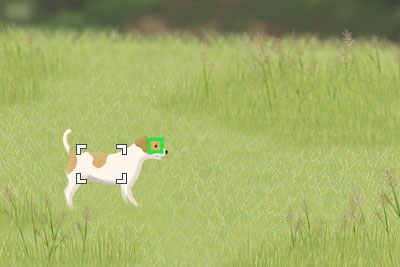
-
The camera continues shooting by changing the position of the subject in the composition in accordance with the movement and direction of the subject and balance of the background. The position of the tracking frame, which tracks the subject, shifts from the position of the focusing area frame, because the composition has been adjusted.
-
Press in advance the center of the multi-selector to which the [Focus Standard] function is assigned so that the focusing area frame moves to the position of the tracking frame that tracks the subject.
-
When it is difficult to continue tracking using the tracking or subject-recognition function due to some reason (for example, the subject is temporarily hidden and cannot be seen), it is effective to temporarily switch the parameter to [Spot] using [Track Recog Off on Hold] assigned to the custom key. While the focus hold button to which [Track Recog Off on Hold] is assigned is pressed down, [
Focus Area] will switch to [Spot: S], [Tracking: Spot M], or [Tracking: Spot L], and you can focus on the position of the focusing area frame of [Spot]. 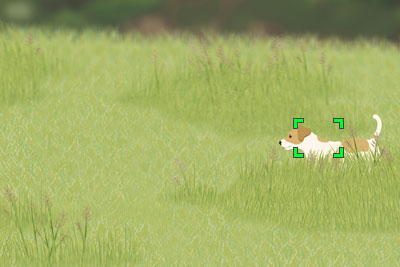
-
Release the focus hold button to which [Track Recog Off on Hold] is assigned, and enable the tracking and subject recognition functions.
Hint
- [Track Recog Off on Hold] is enabled even during autofocusing and continuous shooting.
- When you press [Focus Standard] during tracking, the focusing area frame moves to the tracking frame position. If you press [Focus Standard] when autofocusing is not activated, the focusing area frame moves to the center of the screen.
Convenient use of tracking and subject-recognition functions: Adjusting [Tracking Shift Range]
You can adjust the range for recognizing subjects in terms of the distance of the subject from the position of the tracking frame.
To set the range, select MENU → (Focus) → [Subject Recognition] → [Recognition Target] → [Animal] or [Bird] → detailed settings → [Tracking Shift Range].
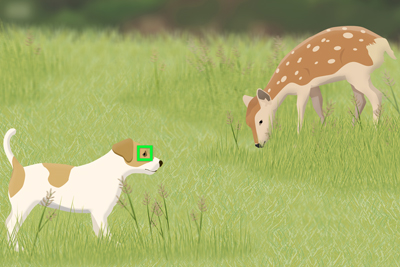
When [Tracking Shift Range] is set to [5(Wide)], the camera automatically shifts the focusing frame to a recognized subject even when the subject is distant from the tracking frame. This function is useful when there is only one subject or when it is difficult to track the subject due to some reason (for example, the subject is hidden and cannot be seen).
Example of wide Tracking Shift Range
When [1(Narrow)] is set, the camera automatically shifts the focusing frame to a recognized subject only when the subject is close to the tracking frame. Narrowing the range is useful when you want to track a specific subject among multiple subjects. (To make it even easier to track the specific subject, set [Recognition Part] to [Eye].)
Example of narrow Tracking Shift Range
It is recommended to set [3(Standard)] when the range could be wide or narrow.
Hint
- You can perform detailed settings for each recognition target. When [Recognition Target] is set to [Animal/Bird], [Tracking Shift Range] set for [Animal] and [Bird] is applied.
- The Tracking Shift Range varies depending on the recognition target setting, type and posture of the subject, setting of a part of the subject to be recognized, recognition status, and other shooting conditions. Setting [5(Wide)] makes it easy to shift the range even from a location separated by a distance of one or two subjects from the target subject. When [1(Narrow)] is set and [Recognition Part] is set to [Eye] only, you can apply the narrowest range for recognizing the subject. As a guideline, when this setting is made, the shift range would be only from areas surrounding a face or eye.
Convenient use of tracking and subject-recognition functions: Adjusting [Tracking Persistence Lvl]
When the subject or the camera is moving, you can make adjustments for setting whether to maintain the tracking frame or subject-recognition frame as much as possible and continue tracking around the subject, or to quickly shift the focus to another subject that is closer in shooting distance.
MENU → (Focus) → [Subject Recognition] → [Recognition Target] → [Animal] or [Bird] → detailed settings → [Tracking Persistence Lvl]
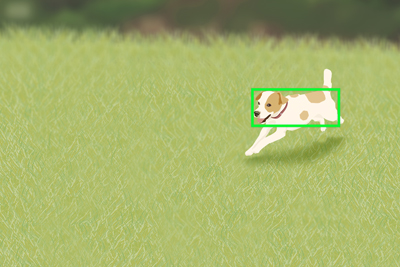
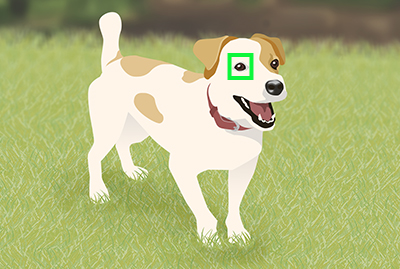
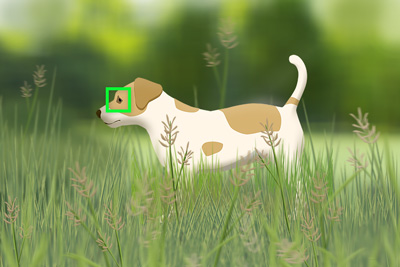
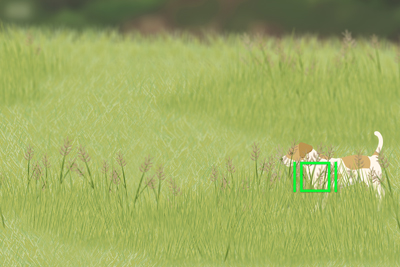
When set to [5(Locked On)], even under conditions where the operation of the tracking frame or subject-recognition frame to track a part of the subject (such as an eye) is temporarily stopped because of some obstruction, the camera maintains the tracking frame or subject-recognition frame to continue to track the area around the subject. This setting is useful when subjects such as an animal are moving in a place with obstructions such as a meadow where an animal can appear and disappear easily.

Example of subject-recognition frame that continues to track the area around the eye.
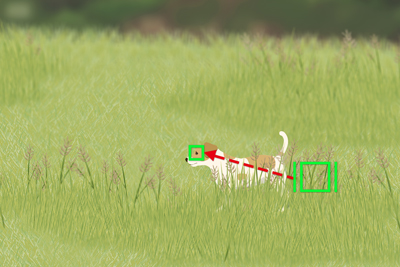
When set to [1(Not Locked On)], under conditions where the tracking frame or subject-recognition frame cannot continue to track a recognized subject, the camera quickly shifts the focus to another subject that is closer in shooting distance without continuing tracking. This setting is useful when the tracking frame continues to be positioned over objects such as branches of trees when the subject, such as a bird, flies away from the branch.
Example of shifting focus to another subject closer in shooting distance without continuing tracking
Hint
- You can perform detailed settings for each recognition target. When [Recognition Target] is set to [Animal/Bird], [Tracking Persistence Lvl], which is set for [Animal] and [Bird], is applied.
- The tracking persistence level varies depending on the recognition target setting, type and posture of the subject, setting of a part of the subject to be recognized, recognition status, and other shooting conditions.
Other convenient functions and their operation methods
Hint: Temporarily focusing on an eye using [Subject Recognition AF] assigned to the custom key
Before starting this operation, select MENU → (Setup) → [Operation Customize] → [Custom Key/Dial Set.]. Select the button to which the function is assigned. Then, set (Focus) → [Subject Recognition] → [Subject Recognition AF].
-
Press the custom key to which [Subject Recognition AF] function is assigned.
When the camera recognizes the eye of an animal or bird and focuses on that eye, a green subject-recognition frame will appear.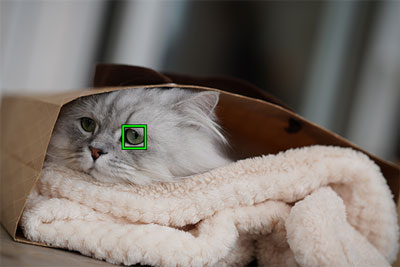
-
Press the shutter button while holding down the Custom Key.
Hint: Switching the eye to detect
* When [Recognition Target] is [Bird], you cannot switch between left and right eyes, on which the camera focuses.
You can set whether to focus on the left or right eye in advance by selecting MENU → (Focus) → [Subject Recognition] → [Right/Left Eye Select]. You can also switch the eye using the following procedure.
Switching with a custom key assigned to [Switch Right/Left Eye]
* [Switch Right/Left Eye] operations are possible when you are not pressing the shutter button halfway down.
When [Right/Left Eye Select] is set to [Right Eye] or [Left Eye], each time you press the custom key to which [Switch Right/Left Eye] is assigned, you can switch the eye on which the camera will focus.
When [Right/Left Eye Select] is set to [Auto], you can temporarily switch the eye to be focused by pressing the custom key to which you have assigned the [Switch Right/Left Eye].
Note
When [Right/Left Eye Select] is set to [Auto], the temporary left/right selection is canceled when you perform the following operations, and the camera returns to automatic eye selection.
- Pressing the center of the control wheel
- Pressing the center of the multi-selector
- Stopping pressing the shutter button halfway down (only during still image shooting)
- Stopping pressing the custom key to which [AF On] or [Subject Recognition AF] is assigned (only during still image shooting)
- Pressing the MENU button
- Change the shooting mode using the mode dial.
Hint: [Practical usage] Customizing the operation according to your preference and shooting styles
For example, you can use a method that allows performing the focusing operation and shutter release operation separately according to your preference and shooting styles. For details, refer to How to separate autofocusing from the shutter release (AF On), etc.
About an easy-to-recognize subject
In some cases, the camera may not be able to recognize an eye, head, or body depending on the type of animal or bird, orientation of a face, size of a subject, and shooting conditions such as a scene where multiple subjects are moving around.
Use the following examples as guidelines.
- Example of easy-to-recognize [Animal]
- Example of hard-to-recognize [Animal]
- Example of easy-to-recognize [Bird]
- Example of hard-to-recognize [Bird]
Example of easy-to-recognize [Animal]
Example of subjects with easy-to-recognize eyes

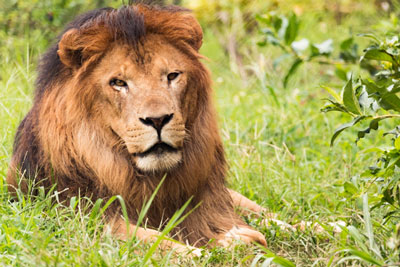
Cat-like face
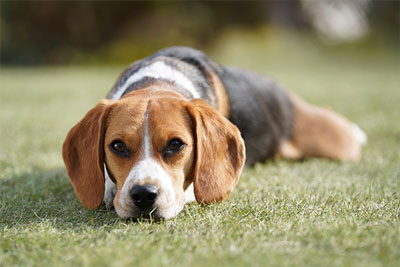
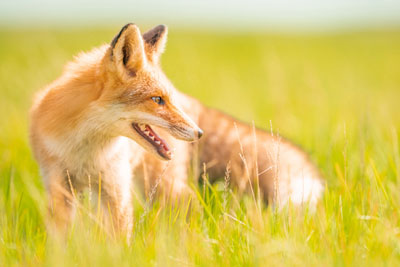
Dog-like face
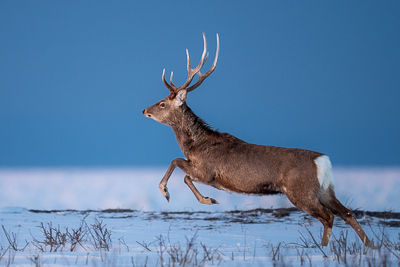
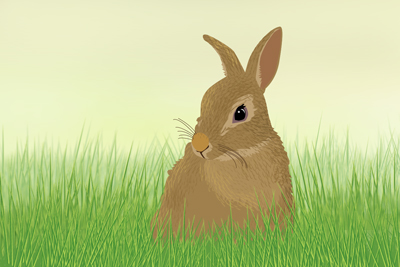
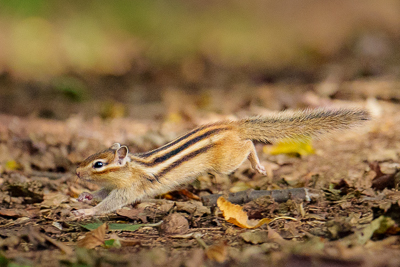
Some herbivorous animals
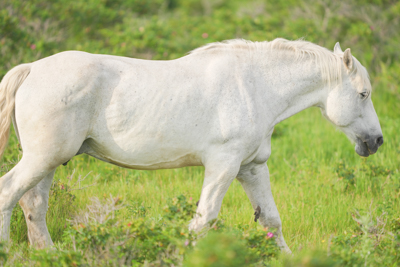
Some herbivorous animals

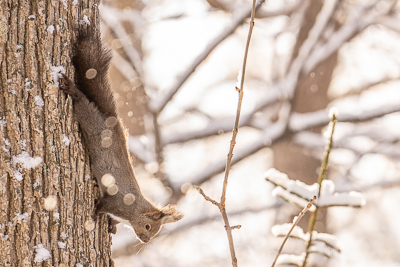
Some small animals
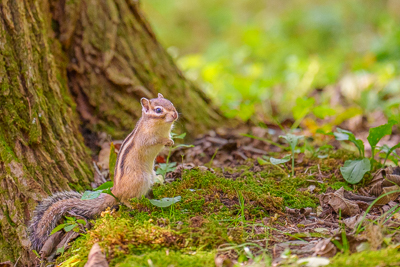
Some small animals
Size and direction of a subject where its entire face such as an eye or nose is seen properly
(Example:Face shown in front view)
Size and direction of a subject where its entire face such as an eye or nose is seen properly
(Example: Face shown sideways)
Example of a subject with an easy-to-recognize head or body
Cat-like form
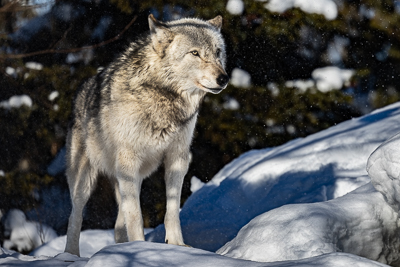
Dog-like form
Example of hard-to-recognize [Animal]
Example of a subject with a hard-to-recognize eye
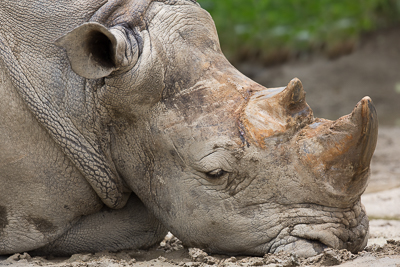
Animals that have faces significantly different from those of “Cats” and “Dogs”

Animals that have faces significantly different from those of “Cats” and “Dogs”
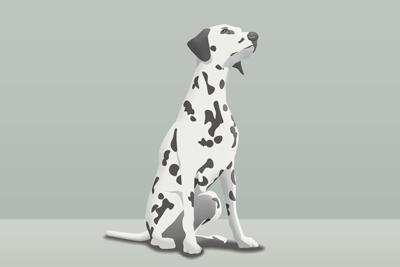
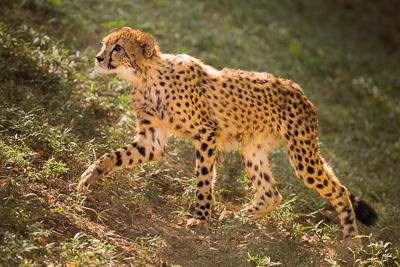
Face or body with markings

The face of the subject is facing down or backward, or part of the face is hidden.
Example of a subject that has a hard-to-recognize head or body
Animals that have forms significantly different from those of “Cats” and “Dogs”
Animals that have forms significantly different from those of “Cats” and “Dogs”
Animals that have forms significantly different from those of “Cats” and “Dogs”
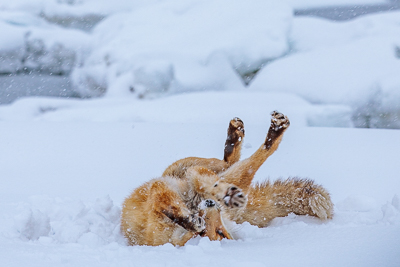
Animals with complicated postures

A part of the body is hidden.
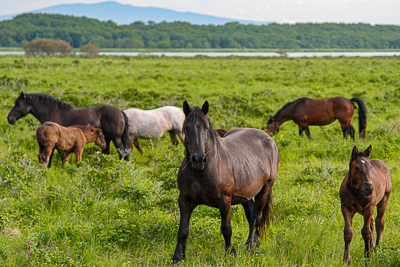
Example of subject with generally hard to recognize eyes, head, or body
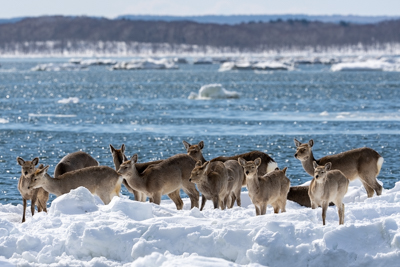
Multiple animals in a confined area
Moving around
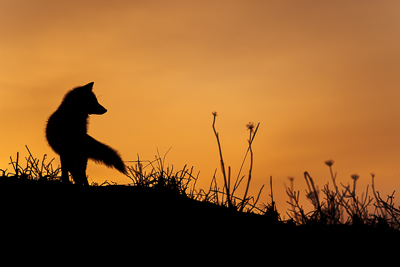
Backlit or dark locations

Animals with black hair or not distinguishable face
Hint
- The camera may find it difficult to recognize a subject when the head of an animal is not in focus. In that case, focus on the head once. After that, the camera will recognize the subject more easily.
Example of easy-to-recognize [Bird]
Example of subjects with easy-to-recognize eyes
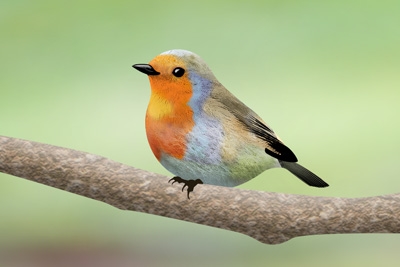
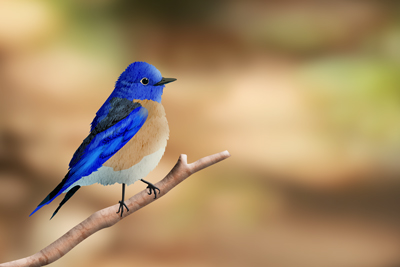
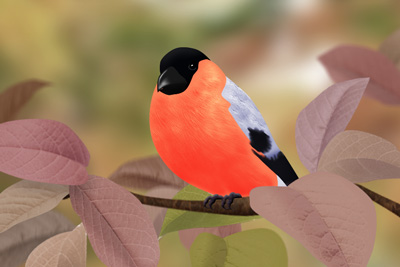
Face like that of small birds
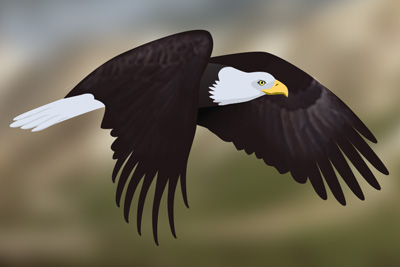
“Raptor-like” face
“Water fowl-like” face

Entire face of the subject is seen properly and it is not too small

Direction of face where the shape of an eye and beak is seen properly

Direction of face where the shape of an eye and beak is seen properly
Example of a subject with an easy-to-recognize head or body
“Small bird-like” form
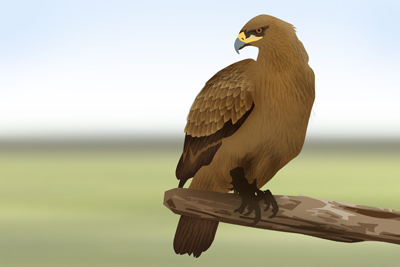
“Raptor-like” form
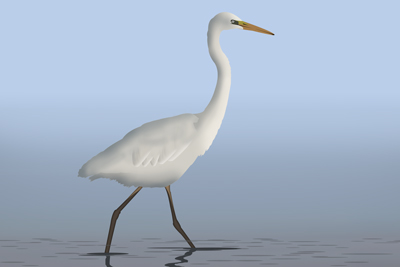
“Water fowl-like” form

Not-too-small size where the head or entire body is properly visible
Not-too-small size where the head or entire body is properly visible
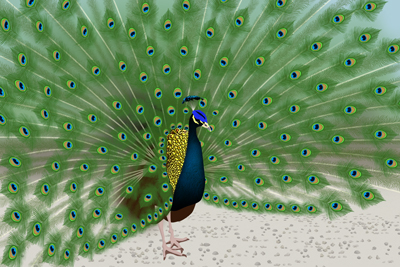
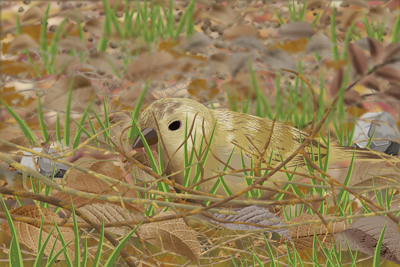
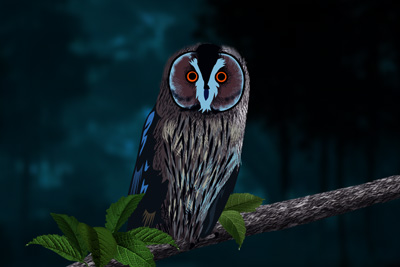
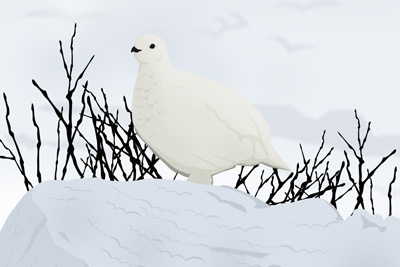
Example of hard-to-recognize [Bird]
Example of a subject with a hard-to-recognize eye
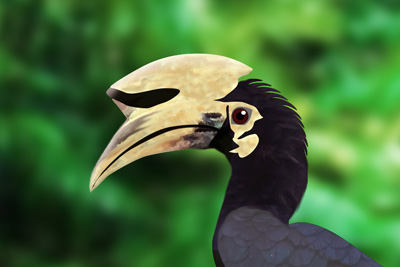
Birds that have faces different from “small birds”, “eagles/hawks”, and “water fowls ”
(Example: Birds with complicated crests and tufted heads)
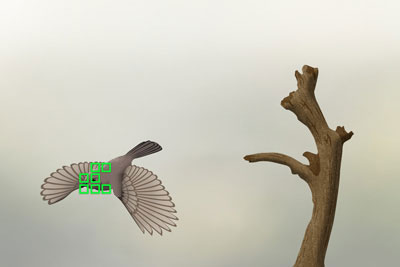
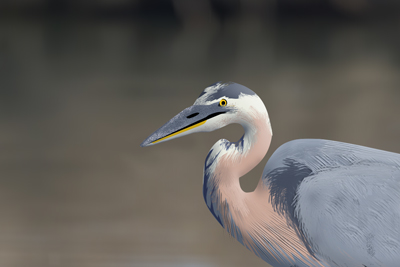
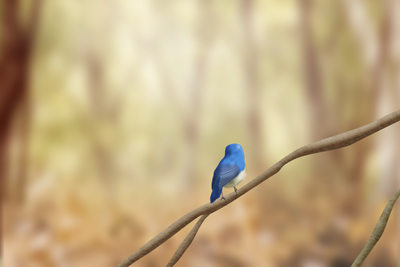
Cases where an eye or body outline of bird is not sharp
(Example: Patterns of body feathers make it difficult to identify eyes)
Cases where an eye or body outline of bird is not sharp
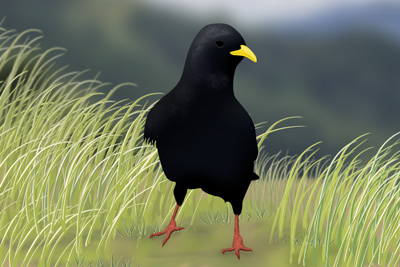
(Example: Dark environment, black body feathers)

Cases where an eye or body outline of bird is not sharp
(Example: Colors or patterns of body feathers that are similar to the background)

Scene where many birds have flocked together
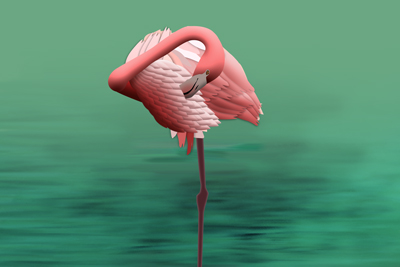
Example of a subject that has a hard-to-recognize head or body
Birds that have complicated forms due to a crest, etc.
(Example: Birds with complicated crests and tufted heads)
Case where the contour of a bird is not distinguishable
(Example: Complicated posture)
Case where the contour of a bird is not distinguishable
(Example: A part of the body is hidden)
Case where the contour of a bird is not distinguishable
(Example: Dark locations)
Case where the contour of a bird is not distinguishable
(Example: Colors or patterns of body feathers that are similar to the background)

Scene where many birds have flocked together
Hint
- When the head of a bird is not in focus, the camera may not be able to recognize the subject easily. In that case, focus on the head once. After that, the camera will recognize the subject more easily.
* All images and illustrations used on this web page are provided for illustrative purposes only.