- Visual Story
- How to use
- 1. Preparation
 Visual Story
1. Preparation
1-1. Initial setup
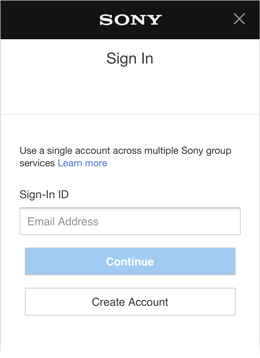
Before you can start using the Visual Story app and service, you must complete the initial setup, including Creators' Cloud membership registration.
- Information about Creators' Cloud membership and your Sony account
FAQ : About the Sony Account
1-1-1. Install Visual Story on your mobile device.
1-1-2. Start Visual Story and follow the instructions to complete Creators' Cloud membership registration or sign in to your account.
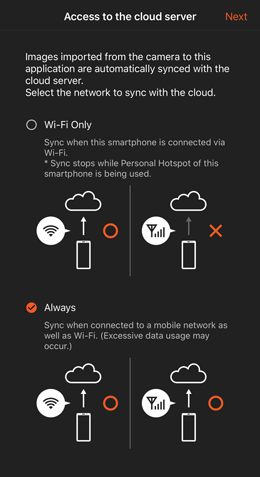
1-1-3. Set whether images are uploaded to the cloud when you are not connected via Wi-Fi.
- Select [Wi-Fi Only] or [Always].
- Each image uploaded to the cloud takes up about 1 MB of data.
- Settings configured here can be changed later by tapping
 (Menu) → [Settings] at the top left of the screen.
1-1-4. Tap [Next] or [Save] at the top right of the screen to save your settings.
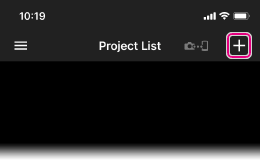
1-2. Project creation
Create a project for each shooting event.
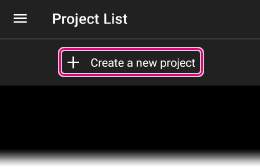
1-2-1. Tap [+] on the [Project List] screen.
A sample project is included when you initially start Visual Story after creating an account. The images can also be published as a gallery. Delete the project if it is not needed. (Note that deletion cannot be undone.)
iOS
Android
1-2-2. Enter information about the new project.
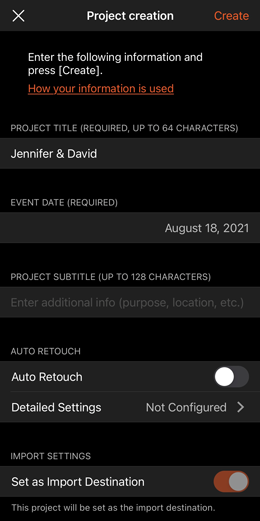
Enter project information.
- Story gallery titles consist of the project title, event date, and project subtitle.
- Auto Retouch: Set whether to automatically apply retouching to images.
When this option is on, you will specify the retouching parameters to apply.
6-2. Setting and applying Auto Retouch (Photos Only) - Import Settings: Turn on to use the current project as the camera's import destination.
6-1. Import Destination setting - Watermark: Turn on [Watermark] as needed.
6-4. Photographer Information Settings - Create Live Gallery: Turn on if you would like live galleries to be created.
3-1. Creating a Live Gallery
1-2-3. Tap [Create] in the upper right to save your new project.
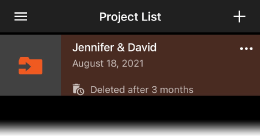
- Projects you create are listed on the [Project List] screen.
- An orange folder icon
 is displayed for the import destination project.
1-3. Image file format
JPEG images are the only type of photos and proxy images in XAVC S HD format are the only type of movies that can be transferred to galleries by Visual Story. Set up the camera to shoot these types of photos and movies as follows.
- Photos: In the MENU →
 (Shooting), set [File Format] to [JPEG] or [RAW & JPEG].
 - Movies: In the MENU → (Shooting), set [Proxy Recording] to [On].
If the camera has a [Proxy File Format] setting, set the recording format to [XAVC S HD].
- This setting determines file formats used when you shoot. [FTP Transfer Func.] determines the file formats transferred.
2-2-4 - You can specify IPTC metadata and have it displayed in Story Gallery. The following types of metadata can be displayed.
- Caption/Description
- Creator/Photographer
- Email(s)