Using MENU items
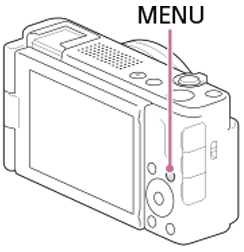
The menu screen is displayed by pressing the MENU button. You can change settings related to all of the camera operations including shooting and playback, or you can execute a function from the menu screen.
The displayed menu items differ between the still image shooting modes and movie recording modes.
-
Displaying the menu screen
Turn on the camera, then press the MENU button.
The menu screen will appear.

-
Selecting the item to be set and confirming the setting value
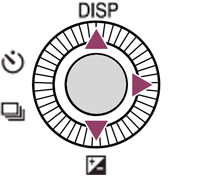
Select the desired menu item by pressing the top/bottom/left/right sides of the control wheel or by turning the control wheel, then press the center of the control wheel.
Select an item to set, then select the desired value using the control wheel. Press the center to confirm your selection.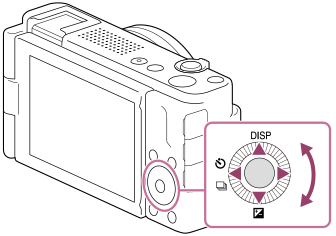
This section describes the steps to change [
 File Format] from [XAVC S HD] to [XAVC S 4K] when in movie recording mode.
 Press the Still/Movie/S&Q button (A) to select the movie recording mode.
The (movie recording mode) icon will be displayed in the top left of the monitor.
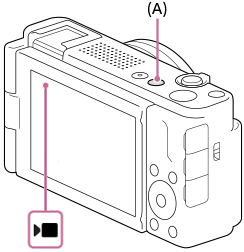
Press the MENU button.The menu screen will appear.
Press the top/bottom/left/right sides of the control wheel to select
(Shooting) from the menu tab.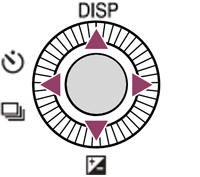
If you press the right side of the control wheel, the selectable menu trees will move to the menu group. Select [Image Quality/Rec] by pressing the top/bottom sides of the control wheel.
If you press the right side of the control wheel, the selectable menu trees will move to the menu item. Select [
File Format] by pressing the top/bottom sides of the control wheel and then press the center. 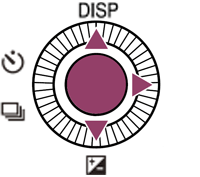
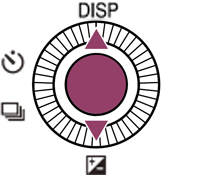
Press the top/bottom sides of the control wheel on the settings screen of the menu item to select [XAVC S 4K] and then press the center.
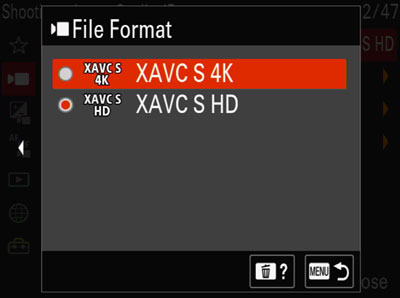
[
File Format] has been set to [XAVC S 4K].