Setting the Area/Date/Time
By connecting the camera and a smartphone with the Bluetooth function, you can perform initial camera setup such as date and time settings from the smartphone. Install the dedicated smartphone application on your smartphone in advance.
Install the dedicated smartphone application from the following webpage. Also, update to the latest version of the application.
https://www.sony.net/ca/
For details on the initial setup, refer to the following website.
https://www.sony.net/ca/help/opr/
Related camera help guide
The following is the setting procedure in case the Area/Date/Time setting screen below is displayed automatically when you did not register your smartphone in the initial setup or when the internal rechargeable backup battery has fully discharged.
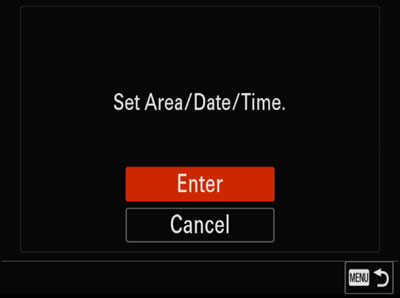
Area/Date/Time setting screen
In addition, the procedure for adjusting the area, date and time will be explained.
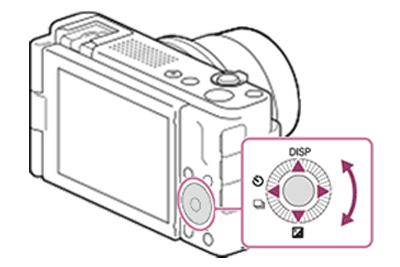
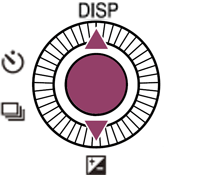
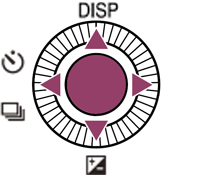
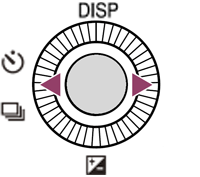
Use the top/bottom/right/left side of the control wheel and the center button to adjust settings.
When the Area/Date/Time setting screen opens automatically
-
Starting Setting the Area/Date/Time
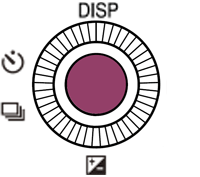
If the Area/Date/Time setting screen is displayed automatically when you did not register your smartphone in the initial setup, confirm that [Enter] is selected, and then press the center of the control wheel.
-
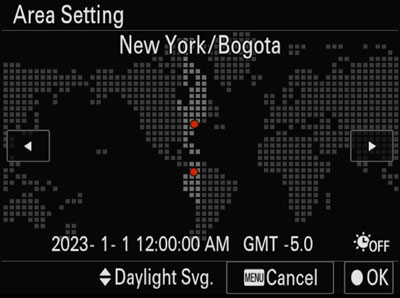
Setting the area and daylight savings
Select the area and daylight savings, and then press the center of the control wheel.
-
Area Setting: Sets the area where you are using the camera.
Select the area by pressing the right/left side of the control wheel. -
Daylight Savings: Selects Daylight Savings [On]/[Off].
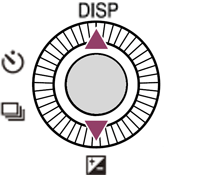
Select the daylight savings [On] or [Off] by pressing the top/bottom side of the control wheel.
-
-
Setting the date display format
Select the date display format by pressing the top/bottom sides of the control wheel and then press the center of the control wheel.
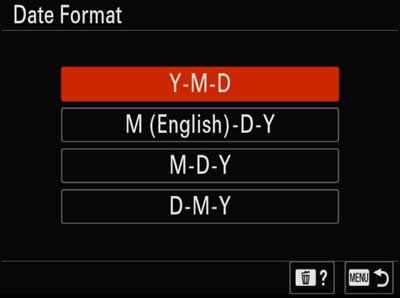
The date and time setting is finished.
-
Setting the date/time
The [Date/Time] setting screen will appear.
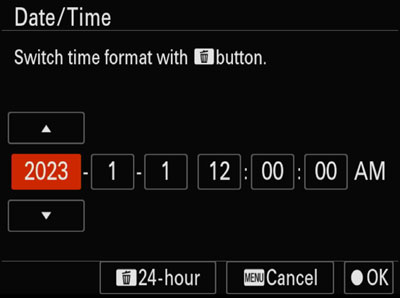
Select an item to set by pressing the right/left side of the control wheel.
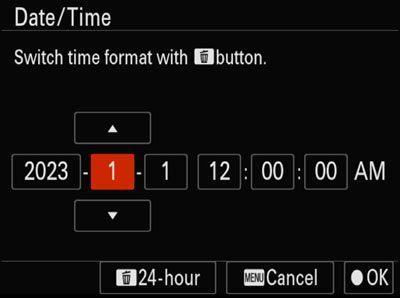
Adjust the numeric value by pressing the top/bottom of the control wheel.
Midnight is indicated as 12:00 AM, and noon as 12:00 PM when you set [Date/Time].
Press the center of the control wheel when the adjustment is finished.
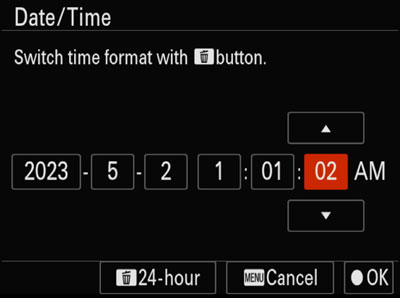
The area/date/time settings will be complete.
Related camera help guide
To adjust the area, date and time
-
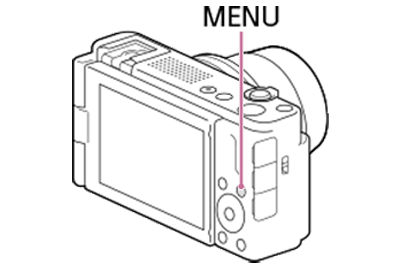
Displaying the menu screen
Turn on the camera, then press the MENU button. The menu screen will appear.
-
Selecting [Area/Date/Time Setting]
MENU→
 (Setup) →[ Area/Date]→[Area/Date/Time Setting]→desired setting item.
 -
[Area Setting]: Sets the area where you are using the camera.
-
[Daylight Savings]: Selects Daylight Savings [On]/[Off].
-
[Date/Time]: Sets the date and time.
You can switch the time display format (24-hour or 12-hour format) by pressing the (Delete) button.
 -
[Date Format]: Selects the date display format.
-