Setting date and time
The setting screen for language, date and time is displayed automatically when you turn on this product for the first time, initialize this product or when the internal rechargeable backup battery has discharged.
To reset the date and time after the date and time setting is finished, select MENU → ![]() (Setup) → [Date/Time Setup] to open the setting screen for date and time.
(Setup) → [Date/Time Setup] to open the setting screen for date and time.
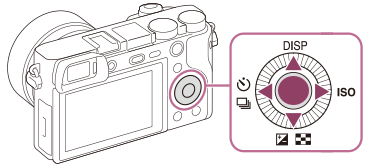
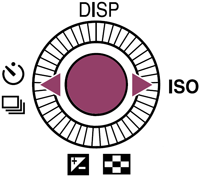
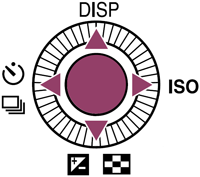
Use the top/bottom/right/left side of the control wheel and the center button to adjust settings.
Date/time setup when turning on the camera for the first time or after initializing the camera
-
Turn on the camera.
Turn the ON/OFF (power) switch to ON.
The language setting screen will appear and then setting screen for date and time will appear.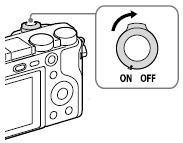
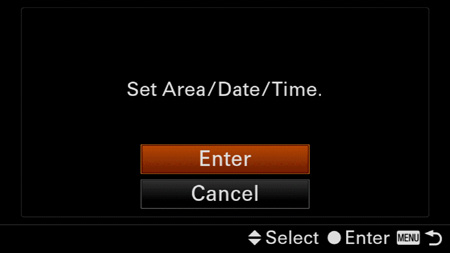
Select your language, and then press the center of the control wheel. Check that [Enter] is selected on the screen, then press the center.
-
Setting Area
Select your desired geographic location, and then press the center.

-
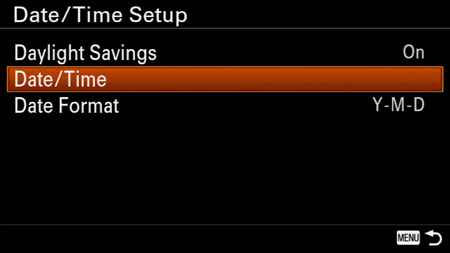
Setting [Daylight Savings]
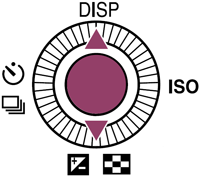
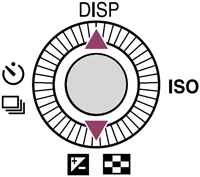
Select [Daylight Savings] by pressing the top/bottom of the control wheel, then press the center.
Select [On] or [Off] by pressing the top/bottom of the control wheel, then press the center.

-
Setting date and time
Select [Date/Time] by pressing the top/bottom of the control wheel, then press the center.
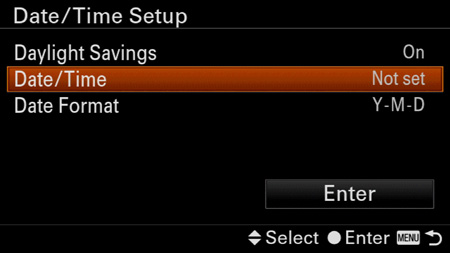
The [Date/Time] setting screen will appear.
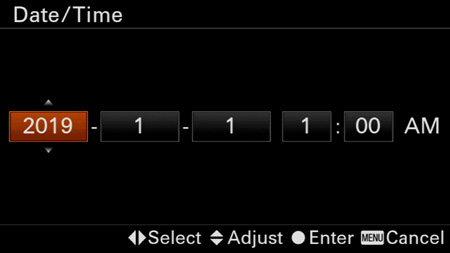
Select an item to set by pressing the right/left side of the control wheel.
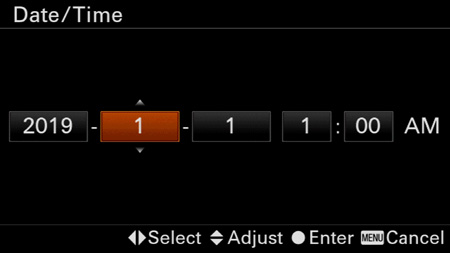
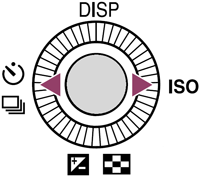
Adjust the numeric value by pressing the top/bottom of the control wheel.
Midnight is indicated as 12:00 AM, and noon as 12:00 PM when you set [Date/Time].
Press the center of the control wheel when the adjustment is finished.


-
Selects the date and time display format.
Select [Date Format] by pressing the top/bottom of the control wheel, then press the center.
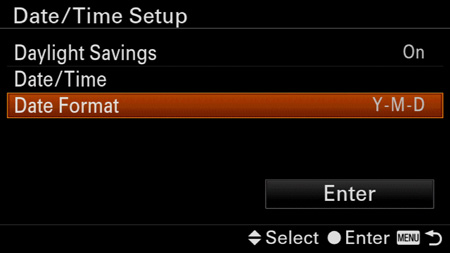
Select the order of the date by pressing the top/bottom of the control wheel, then press the center.
-
Exit settings
Select [Enter] by pressing the top/bottom of the control wheel, then press the center.
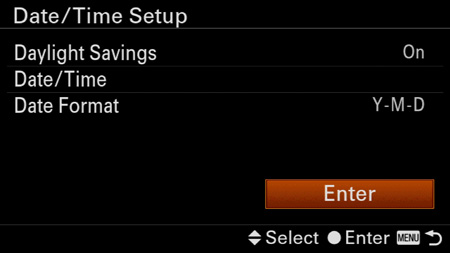
The date and time setting is finished.
Related camera help guide
Readjusting the date and time
-
Displaying the menu screen
Turn on the camera, then press the MENU button.The menu screen will appear.

-
Selecting [Date/Time Setup]
Select
 (Setup) → [Date/Time Setup] using the top/bottom/right/left side of the control wheel, then press the center.
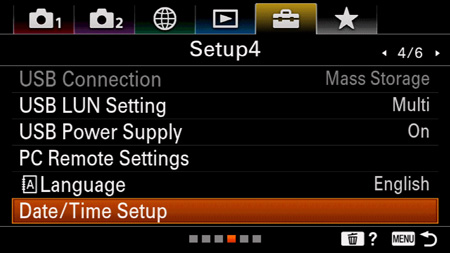
-
Readjusting the date and time
Select [Date/Time] by pressing the top/bottom of the control wheel, then press the center.
Select the setting item by pressing the right/left side of the control wheel. Then change the numeric values by pressing the top/bottom of the control wheel.
Midnight is indicated as 12:00 AM, and noon as 12:00 PM when you set [Date/Time].
When each setting item is adjusted, press the center of the control wheel.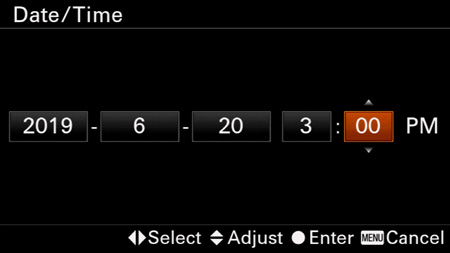
The date and time setting is finished.