Focusing on an animal’s eye
Use the following procedure to take pictures by focusing on an animal’s eye.

- Sets whether or not to detect the animal’s eye inside the focusing area and focus on the animal’s eyes when autofocus is activated.
- When the camera cannot detect an animal’s eye, you can use the regular AF mode to adjust the focus according to the selected focus frame.

- The Eye AF function can also be used by assigning [Eye AF] to a custom key. The camera can focus on the animal’s eye as long as you are pressing the key. This is useful when you want to temporarily apply the Eye AF function to the entire screen regardless of the setting for [Focus Area].
For instance, if [Focus Area] is set to [Flexible Spot] and you want the camera to focus on an eye outside of the focusing frame, you can apply the Eye AF function by pressing the custom key to which [Eye AF] has been assigned, without changing [Focus Area].
Face/Eye AF Set.
Setting the camera
Press the Still/Movie/S&Q button to select the still image shooting mode.
The following icon  is displayed at the upper left on the monitor in the still image shooting mode.
-
[Face/Eye AF Set.]
MENU →
 (Camera Settings1) → [Face/Eye AF Set.] → [Face/Eye Prty in AF] → [On].
MENU → (Camera Settings1) → [Face/Eye AF Set.] → [Subject Detection] → [Animal].
MENU → (Camera Settings1) → [Face/Eye AF Set.] → [Animal Eye Display] → desired setting. (When [On] is set, the white eye detection frame appears over the eye.) -
[Focus Mode]
MENU →
(Camera Settings1) → [Focus Mode] → Select your preferred setting from the  [Single-shot AF],
  [Automatic AF],
  [Continuous AF], or
  [DMF] option.
 -
[Focus Area]
MENU →
(Camera Settings1) → [Focus Area] → desired setting.
Related camera help guide
Guide to using the camera
Setting the focus area
Since the camera focuses on the animal’s eye in the focus area, set the [Focus Area] to [Wide] if you want to detect an eye in as wide a range as possible.
If you want to limit the range for detecting an eye, set the [Focus Area] to settings such as [Flexible Spot] or [Zone].
Shooting still images
-
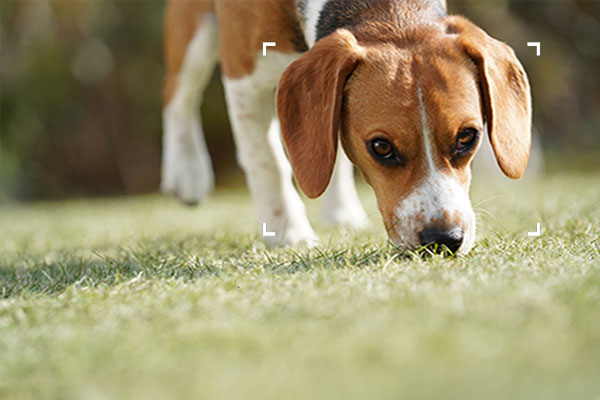
Point the camera so that the animal’s eye to be focused on are within the focus area.
When [Focus Area] is set to [Zone]
-
Press the shutter button halfway down to focus on the animal’s eye.*
A green eye detection frame is displayed over the eye once an animal’s eye is detected and focusing is performed.
-
Press the shutter button fully down.
Hint
- If you want to switch the [Subject Detection] setting more quickly, register the [Subject Detection] setting to the Function menu or assign it to a Custom Key.
- If you want to focus on a specific animal’s eye when the displayed face of that animal is very small, or two or more animals are displayed on the screen, set [Focus Area] to [Flexible Spot] and then focus on the subject so that it is easier for the camera to detect the eye.
Note
- The camera may not be able to detect an eye depending on the subject or shooting environment. For details, refer to the section “About Eye Detection.”
- When [Subject Detection] is set to [Animal], [Right/Left Eye Select] cannot be used.
Eye AF
Setting the camera
Press the Still/Movie/S&Q button to select the still image shooting mode.
The following icon is displayed at the upper left on the monitor in the still image shooting mode.
-
[Face/Eye AF Set.]
MENU →
(Camera Settings1) → [Face/Eye AF Set.] → [Subject Detection] → [Animal]. -
Custom Key
After selecting MENU →
 (Camera Settings2) → [Custom Key], select [Eye AF] for the button to assign.
 -
[Focus Mode]
MENU →
(Camera Settings1) → [Focus Mode] → Select your preferred setting from the [Single-shot AF], [Automatic AF], [Continuous AF], or [DMF] option.
Related camera help guide
Guide to using the camera
Shooting still images
-
Press the Custom Key to which the [Eye AF] function is assigned.
A green eye detection frame is displayed over the eye once an animal’s eye is detected and focusing is performed.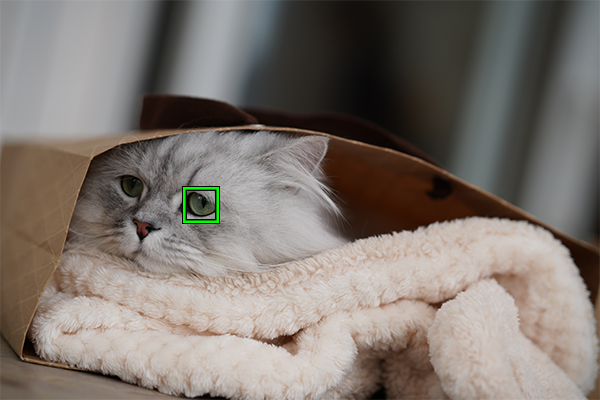
-
Press the shutter button while holding down the Custom Key.
Hint
- If you want to switch the [Subject Detection] setting more quickly, register the [Subject Detection] setting to the Function menu or assign it to a Custom Key.
Note
- The camera may not be able to detect an eye depending on the subject or shooting environment. For details, refer to the section “About Eye Detection.”
- When [Subject Detection] is set to [Animal], [Right/Left Eye Select] cannot be used.
About Eye Detection
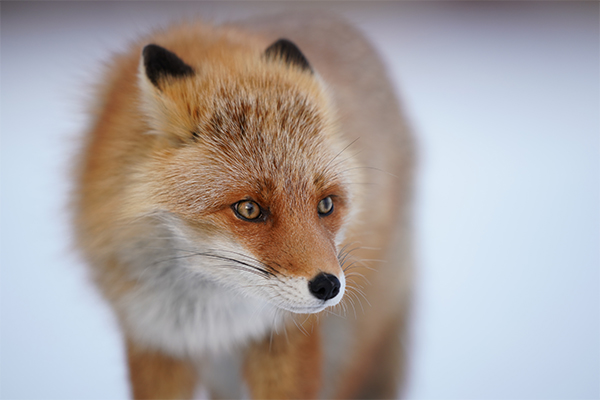
When the subjects have cat- or dog-like faces and both eyes are clearly visible, the camera can easily detect the eye. The camera, however, may not be able to detect an eye depending on the type of animal or shooting environment (e.g. two or more animals moving around).
Use the following examples as guidelines.
Examples of easy-to-detect subjects’ eye

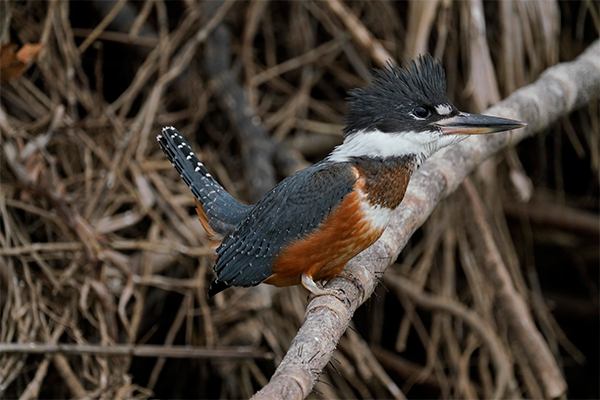
Cat-like face
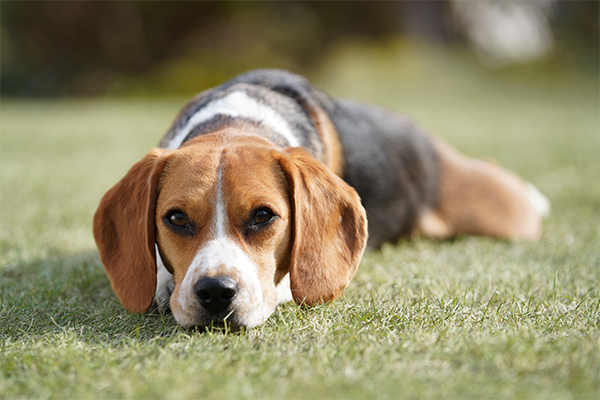
Dog-like face

Size of the entire face is big enough to be clearly visible
The orientation of the animal’s face allows you to view both eyes and nose clearly
Examples of difficult-to-detect subjects’ eye
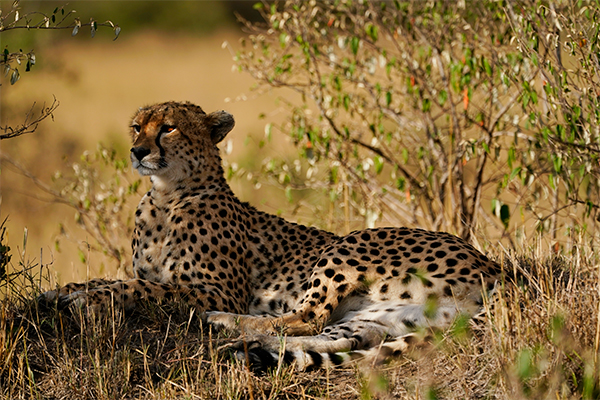
The subject animal has a spotted or striped face and body
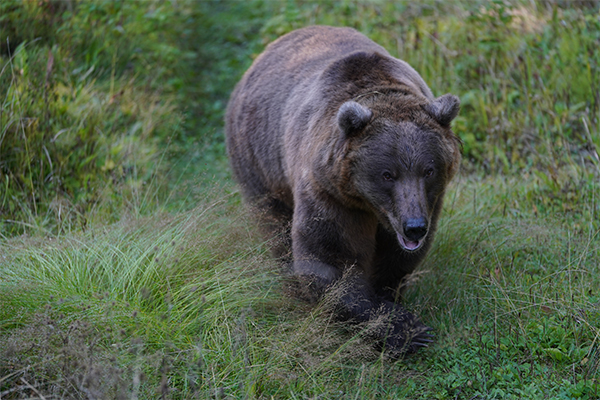
When shooting in dark places or animals with dark hair
Animals that do not have cat- or dog-like faces
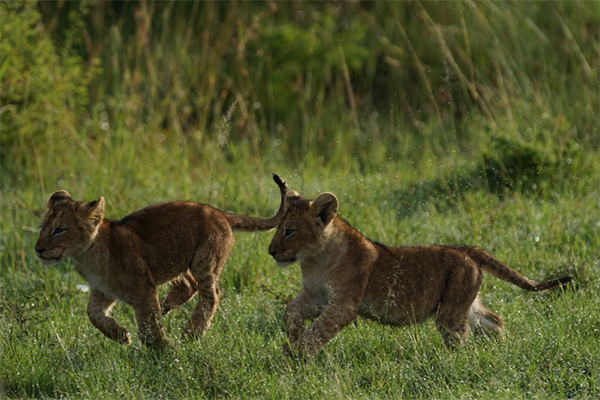
When two or more animals are moving around
Hint
- If the face of an animal is out of focus, the camera may not be able to detect the eye. In that case, adjust the focus on the face once. After that, the camera can detect the eye more easily.
*The menu screen images on this web page have been simplified for display purposes, and do not exactly reflect the actual screen display of the camera.